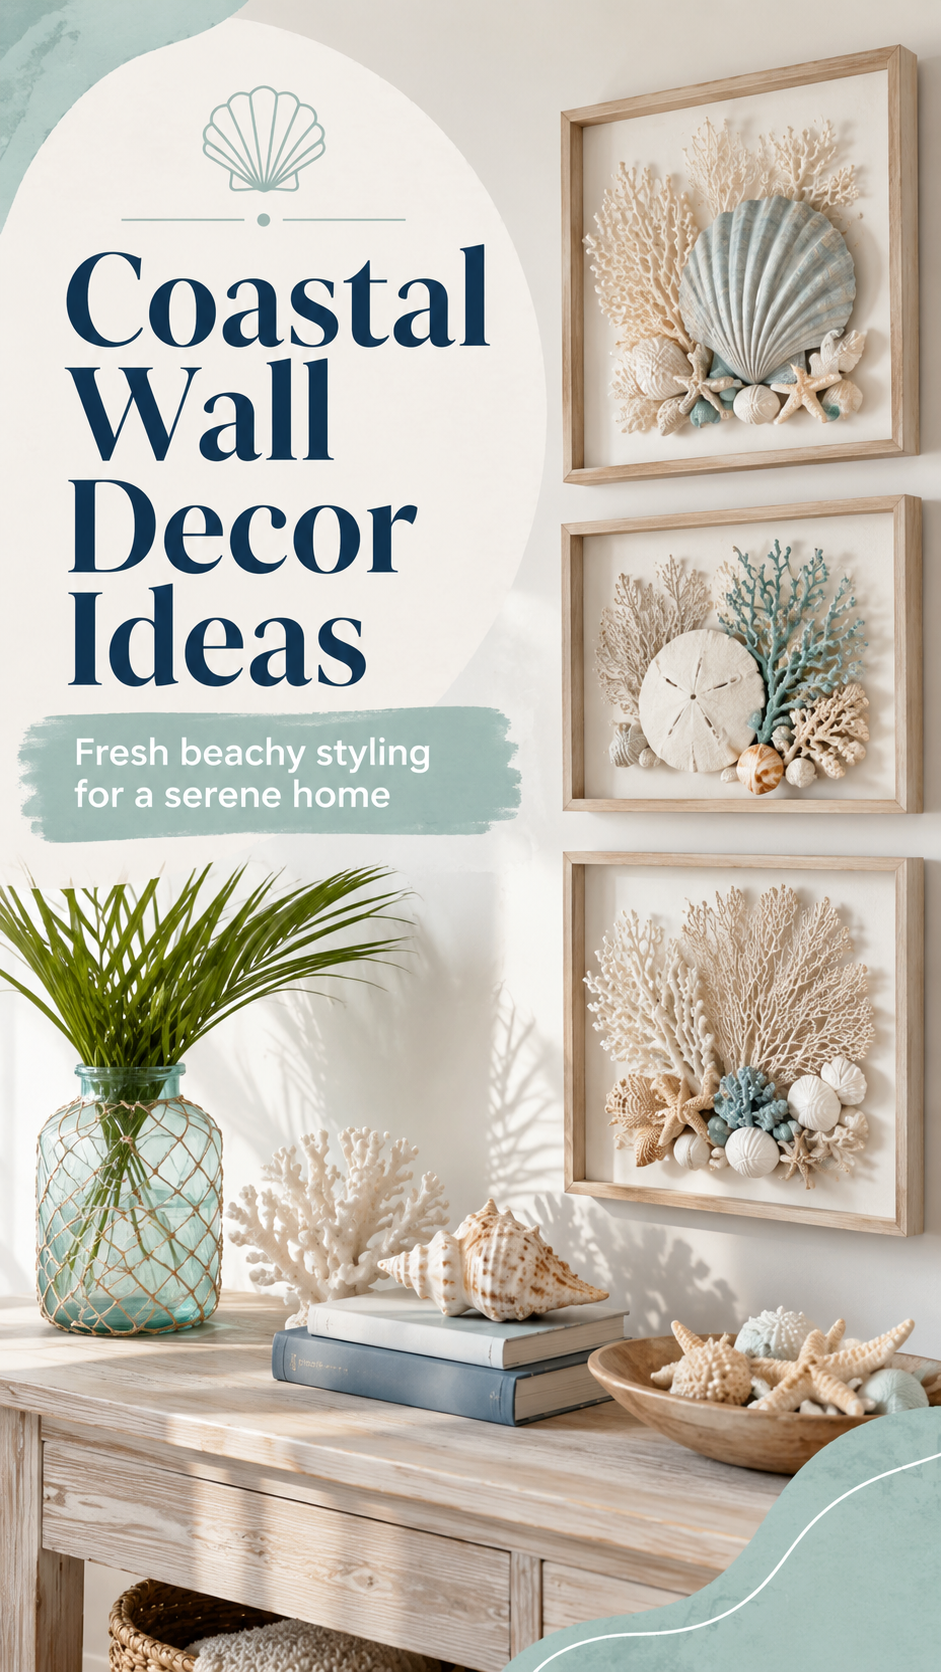
Garden wall decor can completely change the feeling of an outdoor space, especially when it blends handmade texture, natural materials, and a calming color palette. The coastal-inspired wall art style shown here is a beautiful example of how shells, coral-like forms, soft blues, sandy neutrals, and layered relief details can turn a blank wall into a peaceful focal point. It feels fresh, artistic, and personal without looking cluttered.
This kind of DIY garden wall decor works especially well for patios, balconies, covered porches, garden rooms, poolside corners, and sunrooms. Instead of relying only on plants or standard outdoor signs, it brings in sculptural detail and a handcrafted look. The result is a wall that feels collected, creative, and full of quiet beach-house charm.
Key Takeaways
- Layered shell art adds texture and dimension to plain garden walls.
- Soft coastal colors like seafoam, ivory, sand, and powder blue feel calm outdoors.
- Shadow boxes, plaques, and framed relief panels are great DIY formats.
- Faux coral, shells, clay, beads, pebbles, and driftwood create natural detail.
- Sealing your finished art helps protect it in covered outdoor spaces.
- A styled shelf or console below the art can make the wall feel complete.
Why Coastal Garden Wall Decor Feels So Relaxing
Coastal garden wall decor has a naturally soothing quality because it borrows from the colors and textures of the seaside. Shells, sea fans, sand dollars, rounded stones, weathered wood, and watery blue accents all suggest calm, breeze, and slow outdoor living. Even if your garden is far from the beach, this style can make a small patio or balcony feel lighter and more open.
The design shown here uses a soft, dimensional approach. Instead of flat prints, the wall art is built from raised shell shapes, coral-inspired branches, small pebble-like accents, and sculptural details. This is what makes the look feel special. The eye moves across the surface, noticing texture, shadow, and variation.
Important: The secret to making DIY shell wall art look elevated is restraint. Choose a soft color palette, repeat similar shapes, and leave enough breathing room so the texture can shine.
For garden spaces, this style works best when it is paired with simple greenery, natural baskets, whitewashed surfaces, rattan furniture, linen cushions, and warm wood tones. The goal is not to make the area look overly themed. Instead, the coastal details should feel like a gentle layer of texture within a relaxed outdoor setting.
Best DIY Materials for Garden Wall Decor Art
One of the most appealing parts of garden wall decor DIY art ideas is that you can make them with accessible materials. You do not need to use expensive pieces to get a high-end look. The key is combining different shapes and finishes in a thoughtful way.
Shells and Sea-Inspired Shapes
Shells are the main visual element in this style. Scallop shells, small spiral shells, clam shells, and sand dollar shapes all work beautifully. For a more ethical and budget-friendly approach, you can use craft-store shells, ceramic shell pieces, plaster molds, or air-dry clay shapes that imitate coastal forms.
Try mixing larger statement pieces with smaller fillers. A large shell can become the center of a frame, while tiny shells, beads, and stones can fill the surrounding areas. This creates the same layered richness seen in sculptural coastal art.
Faux Coral and Branching Details
Coral-like branches add height and movement to shell wall decor. Since real coral should be avoided, faux coral, resin pieces, paper clay, plaster, or painted botanical stems can create a similar effect. Branching shapes are especially useful because they make the artwork feel organic and flowing.
Wood Frames and Shadow Boxes
Shadow boxes are ideal for this project because they hold dimensional pieces securely and instantly make the art look finished. Natural wood frames add warmth, while whitewashed frames create a breezy beach cottage look. For outdoor use, choose sturdy frames and place them in covered areas protected from heavy rain.
Paint, Clay, and Texture Mediums
Paint is what ties everything together. Soft blue, muted teal, ivory, beige, stone gray, and warm white are excellent choices. You can dry brush paint over shells to soften their color, or use a matte finish to create a more natural handmade look.
Air-dry clay is also useful for making custom shells, small beads, star shapes, leaves, and abstract sea-inspired forms. Once dry, these pieces can be painted and attached to a board or frame.
How to Create a Coastal Garden Wall Art Panel
A raised coastal wall panel is one of the easiest ways to recreate this garden wall decor style. It can be made as a framed shadow box, a rectangular wooden plaque, or a canvas-style board with glued-on details. The finished piece can hang above an outdoor console, on a porch wall, near a garden seating area, or inside a sunroom.
Step 1: Choose Your Base
Start with a sturdy base. A wooden board, deep frame, canvas panel, or shadow box will work. If the piece will be displayed outside, seal the wood first. A painted white, cream, or pale gray base will help the shell details stand out.
Step 2: Plan the Layout Before Gluing
Arrange your largest pieces first. Place a statement shell slightly off center, then build around it with smaller shells, faux coral shapes, clay accents, and pebbles. Avoid perfect symmetry. A natural, flowing layout usually looks more artistic and less staged.
Pro Tip: Take a quick photo of your layout before gluing. This makes it easier to recreate the arrangement if pieces shift while you work.
Step 3: Add Dimension in Layers
The most beautiful DIY wall art has depth. Use thicker pieces in the foreground and flatter pieces in the background. Small beads, clay dots, and tiny pebbles can fill gaps while adding texture. Layering is what gives the artwork a sculptural quality.
Step 4: Paint or Dry Brush for a Cohesive Finish
If your materials are different colors, lightly paint or dry brush them so the whole piece feels unified. For a coastal garden look, try ivory as the main color, then add touches of soft blue, seafoam, beige, and stone gray. Keep the finish matte or satin for a natural effect.
Step 5: Seal the Finished Piece
Once everything is dry, seal the art with a clear protective finish. This is especially important if it will be displayed in a covered outdoor space. Even protected patios can have humidity, dust, and temperature changes, so a clear sealant helps the piece last longer.
Expert Insight
For a polished look, repeat the same three to five materials throughout the piece. Too many unrelated textures can feel busy, but a consistent mix of shells, faux coral, beads, pebbles, and soft paint creates harmony.
Color Palette Ideas for Beachy Garden Wall Decor
Color makes a huge difference in coastal DIY art. The most successful palettes feel soft, sun-washed, and natural. Bright tropical colors can be fun, but the elegant garden wall style shown here leans more toward calm neutrals and muted ocean tones.
Soft Blue and Warm White
This is a classic coastal pairing. Soft blue feels fresh and airy, while warm white keeps the design clean. Use blue sparingly on raised shells or coral-like pieces, then let white and cream dominate the background.
Seafoam, Sand, and Natural Wood
Seafoam green works beautifully in garden spaces because it connects the coastal theme with surrounding greenery. When paired with sandy beige and natural wood, it creates a relaxed outdoor look that feels fresh but not overly beach-themed.
Ivory, Stone, and Driftwood Gray
For a more neutral design, use ivory shells, gray-washed wood, pale stone tones, and small beige accents. This palette is ideal for modern patios, minimalist balconies, and cottage garden walls.
Important: When decorating a small outdoor wall, a limited palette can make the space feel larger. Too many colors may compete with plants, furniture, and natural light.
Garden Wall Decor Placement Ideas
Where you place your DIY wall art matters just as much as how you make it. The right location turns a handmade project into a true focal point. Think about sightlines, sunlight, furniture placement, and nearby plants.
Above an Outdoor Console or Potting Bench
A console, shelf, or potting bench below the wall art creates a styled moment. Add a few shells, small planters, woven baskets, stacked books, lanterns, or driftwood pieces to echo the artwork. This makes the entire area feel intentional.
On a Covered Patio Wall
A covered patio is one of the best places for dimensional DIY art. It gets outdoor atmosphere without direct exposure to heavy rain. Hang one large panel as a statement piece, or create a set of three smaller framed artworks for a gallery effect.
Beside a Garden Seating Area
If you have a bench, bistro table, hanging chair, or small lounge area, a coastal wall panel can frame the space beautifully. Pair it with pale cushions, a woven rug, and potted greenery for a cozy retreat.
Inside a Sunroom or Garden Room
For spaces that blur the line between indoors and outdoors, shell wall art is a natural fit. It brings texture to white walls and works well with sunlight, plants, light wood furniture, and breezy fabrics.
How to Style a Shelf Beneath Your DIY Wall Art
A shelf beneath garden wall decor gives the eye a place to rest and creates a complete vignette. The reference style uses a clean shelf surface with shells, natural textures, and greenery. You can adapt this idea for an outdoor setting with weather-friendly pieces.
Use Greenery for Freshness
A small potted plant, trailing vine, fern, or palm-inspired leaf arrangement softens the sculptural shell details. Greenery also helps the wall art feel connected to the garden instead of separate from it.
Add Natural Bowls and Baskets
Wooden bowls, woven baskets, and rattan trays bring warmth to the cool blue and ivory palette. Fill a shallow bowl with shells, smooth stones, or dried botanical pieces for an easy coastal display.
Keep the Styling Simple
Because textured wall art already has a lot of detail, the shelf decor should feel calm. Choose a few larger objects instead of many tiny items. This keeps the look elegant and prevents the area from feeling crowded.
DIY Variations for Different Garden Styles
The beauty of garden wall decor DIY art ideas is that they can be customized for many aesthetics. You can keep the coastal shell theme or adjust the materials to match your outdoor space.
Cottage Garden Version
Use white shells, pressed floral shapes, pale pink accents, and distressed frames. Add small clay flowers or leaves between the shells for a soft romantic look.
Modern Coastal Version
Choose a clean rectangular frame, fewer large shell pieces, matte white paint, and subtle blue accents. Keep the arrangement minimal with lots of negative space.
Boho Patio Version
Mix shells with macrame scraps, beads, raffia, driftwood, and woven textures. Use warmer neutrals like tan, cream, rust, and muted teal for a more relaxed bohemian feel.
Poolside Garden Version
Lean into fresh aqua, white, pale blue, and sandy beige. A shell art panel near a poolside wall can make the area feel resort-inspired without needing a full renovation.
Helpful Tips for a Long-Lasting Finish
DIY garden wall art should be beautiful, but it also needs to be practical. Outdoor and semi-outdoor areas can expose decor to moisture, dust, sunlight, and changing temperatures. A few simple choices will help your project stay attractive longer.
- Display handmade shell art in covered or sheltered areas when possible.
- Use strong craft adhesive suitable for mixed materials.
- Seal painted surfaces with a clear protective coating.
- Avoid placing delicate pieces where they will receive direct heavy rain.
- Dust textured artwork gently with a soft brush.
- Use lightweight materials if hanging on a fence or thin wall panel.
Pro Tip: If you want the look outdoors but worry about weather damage, create a removable wall panel. Hang it during patio season and store it indoors during harsh weather.
Common Mistakes to Avoid
Even simple DIY projects can go wrong when the design becomes too busy or the materials are not secured properly. Keep these common mistakes in mind before starting your garden wall decor project.
- Using too many colors: Stick to a calm palette for a more elegant finish.
- Skipping the layout stage: Always test your arrangement before gluing.
- Choosing weak adhesive: Dimensional pieces need a strong hold.
- Overfilling the frame: Leave small open areas so the design can breathe.
- Ignoring placement: Delicate DIY art lasts longer in covered garden areas.
At a Glance
- Best look: layered, textured, and softly coastal.
- Best colors: ivory, seafoam, powder blue, sand, and natural wood.
- Best location: covered patio, porch, balcony, or sunroom wall.
- Best finish: matte paint plus clear protective sealant.
- Best styling partner: greenery, woven baskets, and simple shelf decor.
Conclusion: Turn a Blank Garden Wall Into Handmade Art
Garden wall decor DIY art ideas are perfect for anyone who wants an outdoor space that feels personal, peaceful, and beautifully styled. A coastal shell-inspired wall piece brings together texture, color, nature, and creativity in a way that feels timeless. Whether you create one large statement panel or a set of smaller framed artworks, the result can add instant charm to a patio, balcony, porch, or sunroom.
The key is to keep the design balanced. Start with a calm base, add layered shell and coral-inspired details, repeat a soft color palette, and style the surrounding area with greenery and natural textures. With the right materials and a little patience, a plain garden wall can become one of the most memorable features in your home.
Tags
Garden Wall Decor DIY Wall Art Coastal Decor Shell Art Ideas Patio Decor Outdoor Wall Ideas Beachy Home Decor Handmade Garden Art