Fresh herbs bring vibrant flavor, inviting aromas, and beautiful color to countless recipes, but their freshness often fades within days. Learning how to dry and preserve herbs is one of the easiest ways to reduce waste while ensuring your favorite seasonings are always within reach. Whether you grow herbs in your backyard, harvest them from containers on a balcony, or simply buy fresh bundles from the grocery store, preserving them correctly allows you to enjoy their natural goodness throughout the year.
Drying herbs is an age-old preservation method that remains incredibly effective today. With the right techniques, you can lock in essential oils, maintain rich flavors, and create a well-stocked pantry filled with homemade dried herbs ready for cooking, herbal teas, and DIY projects.
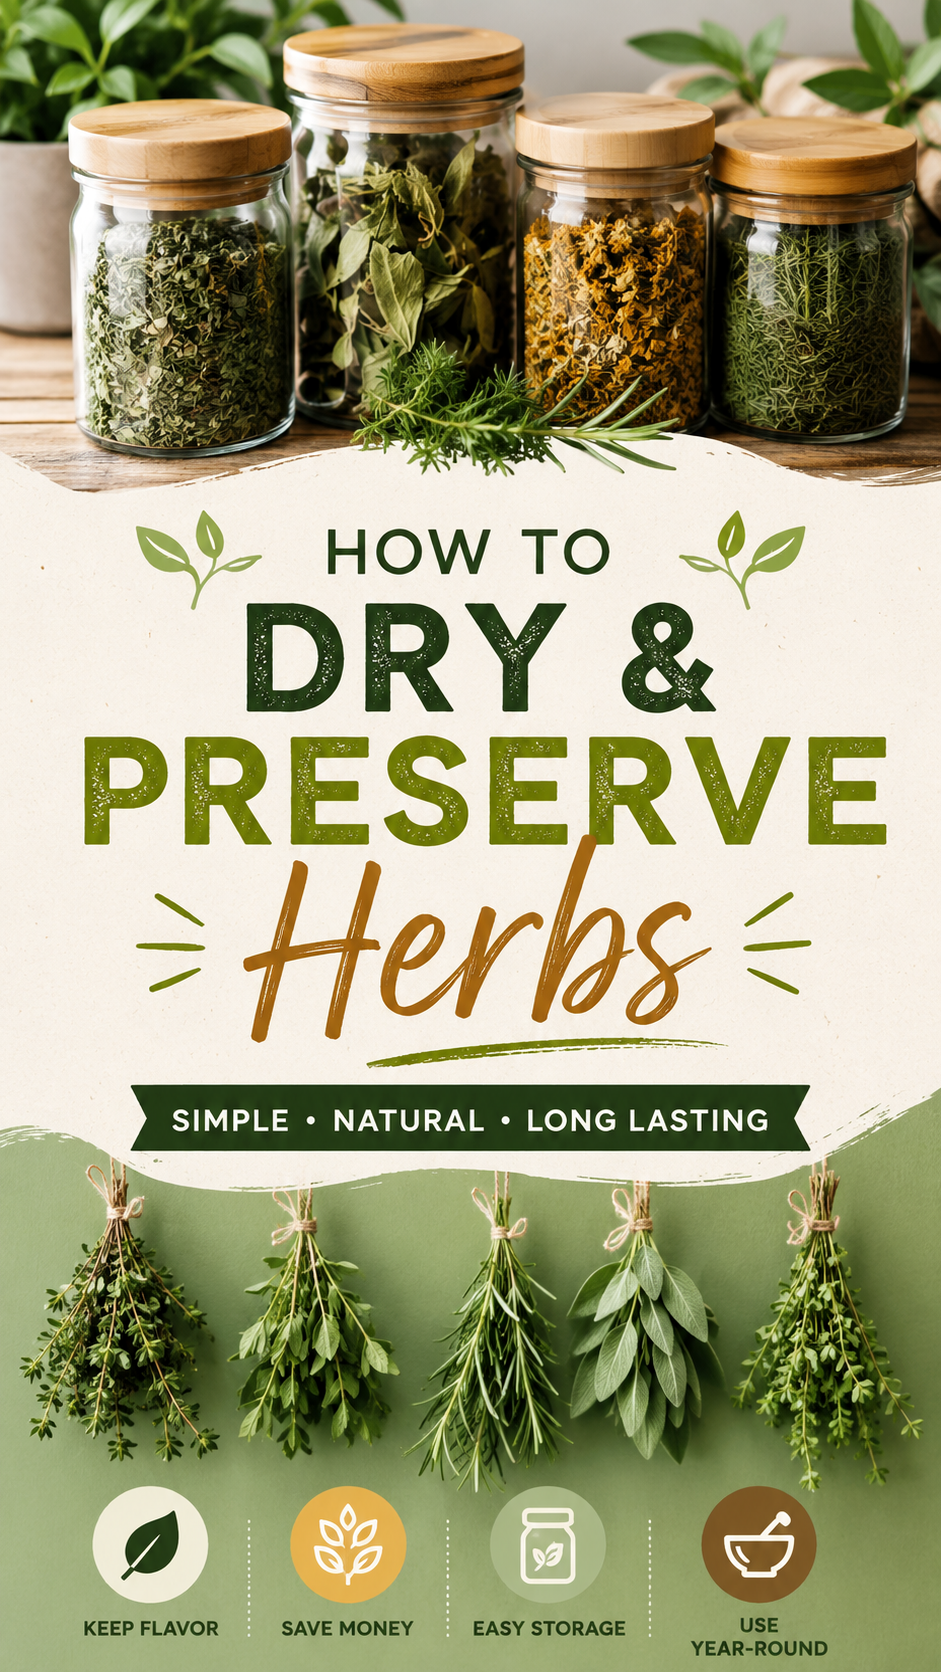
Key Takeaways
- Harvest herbs before flowering for the strongest flavor.
- Always wash and completely dry herbs before preservation.
- Air drying works best for sturdy herbs with low moisture.
- Store dried herbs in airtight containers away from heat and light.
- Label every jar with the herb name and drying date.
- Replace dried herbs after about one year for the best flavor.
Why Drying Herbs Is Worth the Effort
Fresh herbs are seasonal in many climates, but dried herbs can be enjoyed all year long. Preserving herbs extends their shelf life while helping you save money and reduce food waste. Instead of throwing away wilted parsley, basil, thyme, or rosemary, you can transform them into pantry staples that stay flavorful for months.
Important: Proper drying is about more than removing moisture. Slow, careful drying helps preserve essential oils, which are responsible for the aroma and flavor that make herbs such valuable ingredients in cooking.
Another advantage is convenience. Having a collection of dried herbs readily available makes meal preparation easier. You can quickly season soups, roasted vegetables, pasta dishes, marinades, sauces, and homemade spice blends without needing a trip to the store.
Choosing the Best Herbs for Drying
While almost any herb can be dried, some varieties retain their flavor better than others.
Excellent Herbs for Air Drying
- Rosemary
- Thyme
- Oregano
- Sage
- Marjoram
- Bay leaves
- Dill
Herbs That Need Extra Care
- Basil
- Parsley
- Mint
- Cilantro
- Tarragon
- Chives
These softer herbs contain more moisture and may benefit from dehydrators or low-temperature ovens instead of traditional hanging methods.
Harvesting Herbs at the Right Time
The quality of dried herbs begins long before the drying process starts. Harvest herbs during the morning after the dew has evaporated but before the intense afternoon sun reduces their essential oils.
Look for healthy stems with vibrant green leaves. Avoid harvesting damaged, yellowing, or diseased foliage. Young leaves generally contain the most concentrated flavors.
For perennial herbs like oregano, thyme, and rosemary, regular harvesting can even encourage healthier growth throughout the growing season.
Preparing Herbs Before Drying
Preparation plays an important role in successful preservation.
- Rinse herbs gently under cool water.
- Remove dirt, insects, and damaged leaves.
- Pat dry thoroughly using clean towels.
- Allow herbs to air dry until all visible moisture disappears.
- Gather herbs into small bundles if air drying.
Skipping the drying step after washing can encourage mold during preservation, so patience is worthwhile.
Expert Insight
Smaller herb bundles dry faster and more evenly than large bundles. Allow plenty of airflow around each bunch to reduce the chance of trapped moisture.
The Traditional Air Drying Method
Air drying remains one of the simplest and most affordable preservation techniques. It requires very little equipment while delivering excellent results for many herbs.
Step-by-Step Guide
- Tie small bundles together using string or rubber bands.
- Hang bundles upside down.
- Choose a warm, dry, and well-ventilated location.
- Keep herbs out of direct sunlight.
- Allow one to three weeks for complete drying.
When the leaves crumble easily between your fingers and stems snap instead of bending, the herbs are fully dried.
Using a Food Dehydrator
Food dehydrators provide consistent airflow and temperature, making them ideal for herbs with delicate leaves.
Arrange herbs in a single layer without overlapping. Set the dehydrator to a low temperature, generally between 95°F and 115°F. Most herbs finish drying within a few hours depending on leaf thickness and moisture levels.
Pro Tip: Lower temperatures preserve more aroma and color than high heat. Rushing the process can reduce flavor quality even if the herbs appear completely dry.
Can You Dry Herbs in the Oven?
Yes, although it should be done carefully. Use the lowest temperature available and leave the oven door slightly open if possible. Spread herbs across baking trays lined with parchment paper.
Turn leaves occasionally and monitor them closely. Thin leaves may dry within 20 to 45 minutes, while thicker herbs require longer.
This method is convenient but requires more attention than air drying or dehydrating.
Storing Dried Herbs Correctly
Even perfectly dried herbs lose quality if stored improperly.
- Use airtight glass jars.
- Store away from sunlight.
- Keep containers away from heat sources.
- Avoid humid environments.
- Label every container.
Whole leaves generally maintain their flavor longer than crushed herbs. Crush only the amount needed while cooking.
Common Mistakes to Avoid
- Drying herbs while still wet.
- Making bundles that are too large.
- Exposing herbs to direct sunlight.
- Using plastic bags for long-term storage.
- Forgetting to label jars.
- Grinding herbs immediately after drying.
A little extra care during each step leads to noticeably better flavor and longer shelf life.
How Long Do Dried Herbs Last?
Properly stored dried herbs typically remain at their best for six to twelve months. They may still be safe beyond that point, but their flavor and aroma gradually fade.
To test freshness, rub a small amount between your fingers. If the scent is weak, it’s probably time to replace that batch.
Creative Ways to Use Preserved Herbs
Cooking
- Season roasted vegetables.
- Add to soups and stews.
- Create homemade spice blends.
- Mix into bread dough.
- Flavor pasta sauces.
Drinks
- Herbal teas
- Infused water
- Cocktail garnishes
Home Projects
- Natural potpourri
- DIY sachets
- Homemade bath salts
- Decorative kitchen jars
Important: Building a collection of preserved herbs gives you year-round access to garden-inspired flavors while reducing unnecessary grocery purchases and food waste.
Tips for Maintaining Maximum Flavor
- Harvest herbs regularly during peak growth.
- Dry herbs quickly but gently.
- Store them whole whenever possible.
- Replace older herbs annually.
- Use clean, dry utensils when removing herbs from storage jars.
At a Glance
- Harvest herbs in the morning.
- Dry completely before storage.
- Keep jars sealed and away from sunlight.
- Label containers with dates.
- Refresh your herb collection yearly.
Conclusion
Drying and preserving herbs is a rewarding kitchen skill that combines simplicity with long-lasting benefits. From reducing waste to enhancing everyday meals, properly preserved herbs offer convenience, flavor, and satisfaction throughout the year. Whether you prefer traditional air drying, using a dehydrator, or carefully drying herbs in the oven, consistent preparation and proper storage will help you enjoy the freshest possible results. Start with a few favorite herbs, build your pantry over time, and discover how easy it is to preserve the taste of every harvest.
Tags
Herb Drying Food Preservation Kitchen Tips Home Gardening DIY Herbs Pantry Essentials Homesteading Fresh Herbs