Beach days have a way of becoming family stories. A few shells tucked into a pocket, a scoop of soft sand, a tiny stone found by the water, and suddenly a simple afternoon turns into something worth keeping. A DIY beach memory jar is one of the sweetest ways to preserve those little moments, especially when kids are involved. It is part craft, part keepsake, and part coastal decor piece that can sit on a shelf long after the vacation ends.
This project is charming because it does not need fancy supplies or complicated steps. A clear glass jar, a handful of beach treasures, twine, labels, and a few decorative touches are enough to create something personal and beautiful. Kids can help collect the pieces, choose what goes inside, and decorate the jar in a way that feels connected to the trip. The result is a handmade souvenir that feels more meaningful than anything bought from a gift shop.
Whether you are planning a summer craft activity, looking for vacation keepsake ideas, or searching for an easy coastal home decor project, beach memory jars are a wonderful choice. They are simple, affordable, and full of nostalgia. Best of all, every jar tells a different story.
Key Takeaways
- A DIY beach memory jar is an easy way to preserve vacation memories with kids.
- Sand, seashells, pebbles, driftwood, and small labels make the jar personal.
- Clear jars work best because they display the layers and textures beautifully.
- Kids can help collect, arrange, and decorate the jar for a hands-on summer craft.
- The finished piece doubles as a meaningful keepsake and coastal decor accent.
What Is a Beach Memory Jar?
A beach memory jar is a clear container filled with small items from a beach trip. These might include sand, shells, sea glass, pebbles, tiny pieces of driftwood, or handwritten notes. The idea is to capture the feeling of a day by the water in a visible, touchable keepsake.
Unlike a photo album that stores memories on a page, a memory jar turns the actual textures of the beach into a decorative object. You can see the sand at the bottom, the shells layered inside, and the little details that make one trip different from another. For children, this makes the memory feel real and exciting. They are not just talking about the beach, they are building a tiny version of it inside a jar.
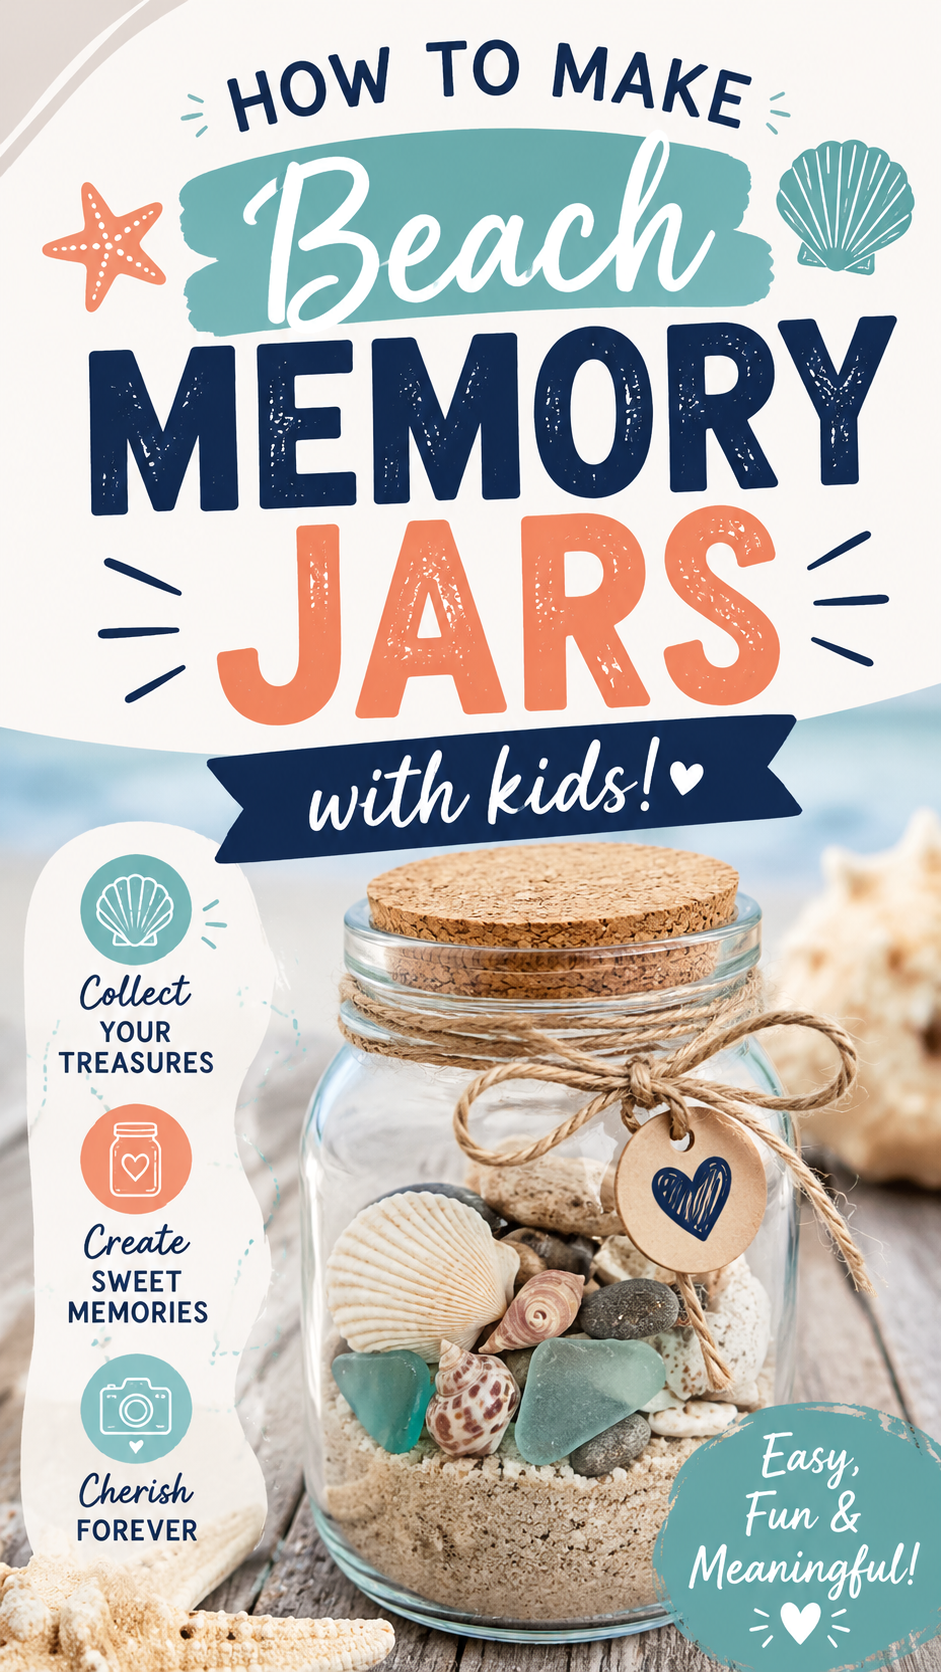
The image of glass jars filled with sand, shells, twine, and sea-inspired charms perfectly reflects this style of craft. It feels relaxed, handmade, and sentimental. The natural colors, sandy textures, and rustic details make the project especially appealing for family crafting and summer home decor.
Why Kids Love Making Memory Jars
Children often connect deeply with small objects. A shell is not just a shell to them. It might be the one they found near the waves, the one they chose because it was smooth, or the one they carried all the way home in a bucket. A DIY memory jar gives those objects a special place.
Kids love this project because it lets them be part of every step. They can search for materials, compare colors and shapes, pour in the sand, and decide how the jar should look. The process feels creative without being overwhelming. It also encourages observation, storytelling, and hands-on learning.
Important: The real value of a beach memory jar is not perfection. It is the story behind each piece inside. Let kids choose the shells, stones, and little details that feel meaningful to them, even if the finished jar looks wonderfully imperfect.
Another reason this craft works so well with children is that it has a clear result. They can see the jar filling up as they work. They can hold it, display it, and proudly explain what each object means. That sense of ownership makes the keepsake even more special.
Supplies You Need for DIY Beach Memory Jars
The best part about this project is that the supply list is flexible. You can keep it simple with a jar and a few beach finds, or you can add decorative details for a more polished look. The goal is to create a keepsake that feels personal, not complicated.
Basic Supplies
- Clear glass jar or small bottle with a lid
- Clean, dry sand
- Small seashells
- Smooth pebbles or tiny stones
- Twine, jute string, or ribbon
- Small paper label or tag
- Optional charm or decorative accent
Optional Decorative Extras
- Mini cork bottles
- Sea glass
- Small driftwood pieces
- Printed vacation date label
- Handwritten memory note
- Shell charm or ocean-themed pendant
- Natural cotton cord
You do not need to use everything. In fact, a simple jar with sand, two shells, and a handwritten tag can look just as beautiful as a more detailed version. The clear glass does most of the work by showing the natural textures inside.
Choosing the Right Jar
The jar you choose will shape the overall look of the project. Small round bottles create a vintage, message-in-a-bottle feeling. Mason jars offer more space and are easy for kids to handle. Recycled glass jars are budget-friendly and give the project an eco-conscious touch.
For a Pinterest-worthy beach memory jar, clear glass is usually best. It allows the sand, shells, and stones to become the main decoration. A wide-mouth jar is helpful for younger children because it is easier to fill. A narrow-neck bottle can look elegant, but it may require more patience and smaller items.
Good Jar Options
- Small mason jars for kid-friendly crafting
- Cork-top bottles for a rustic coastal style
- Recycled jam jars for a simple budget craft
- Apothecary-style bottles for a decorative shelf display
- Mini jars for party favors or classroom projects
If you are making several jars with kids, choose containers that are sturdy and not too delicate. Smooth edges, secure lids, and easy openings matter, especially when children are handling sand and shells.
How to Prepare Beach Finds Before Crafting
Before adding shells, rocks, or sand to a jar, it is a good idea to clean and dry everything. This helps the jar stay fresh and prevents moisture from getting trapped inside. Wet sand can clump, create foggy glass, or cause unpleasant odors over time.
Spread the collected items on a towel and let them dry fully. Rinse shells and pebbles gently if needed, then allow them to air dry in a sunny spot. Sand should be completely dry before it goes into the jar. If it feels damp, leave it in a shallow tray for a day or two.
Pro Tip: Keep a small bag or container with you during a beach trip so kids can collect treasures safely. Once home, sort through the finds together and choose only the pieces that fit comfortably in the jar.
Step-by-Step Guide to Making a Beach Memory Jar
Making a beach memory jar is simple, but the order of the layers can make a big difference. Starting with sand creates a stable base. Larger shells and stones can then sit on top or be arranged around the edges where they are visible through the glass.
Step 1: Add the Sand Base
Pour a small amount of dry sand into the bottom of the jar. You do not need to fill it too high. A thin layer is enough for smaller bottles, while larger jars may look better with a deeper base. Let kids use a spoon or small funnel to make the process easier and less messy.
Step 2: Place the Shells and Pebbles
Add small shells, stones, or sea glass pieces on top of the sand. Place the prettiest pieces near the outside of the jar so they can be seen clearly. Children may want to drop everything in at once, but encourage them to slow down and arrange the items with care.
Step 3: Add a Personal Note
A small note can turn the jar from a decorative craft into a true memory keepsake. Write the beach name, vacation date, or a short phrase such as “our summer day by the sea.” Kids can also write their favorite memory on a tiny folded paper and place it inside.
Step 4: Decorate the Outside
Wrap twine around the neck of the jar for a natural coastal look. Tie on a paper tag, shell charm, or simple ribbon. The rustic string detail gives the jar a handmade feel and works beautifully with beach-inspired textures.
Step 5: Display the Finished Jar
Once the jar is complete, place it somewhere it can be seen and enjoyed. A bookshelf, entryway table, desk, windowsill, or kids’ room shelf can all work well. The jar becomes a quiet reminder of a favorite summer day.
Expert Insight
For the most attractive display, avoid overfilling the jar. Leaving a little empty space at the top helps each shell, stone, and sand layer stand out instead of looking crowded.
Creative Ideas for Personalizing Memory Jars
Personal touches are what make this project memorable. Two families can visit the same beach and create completely different jars because each one reflects their own experience. Think of the jar as a tiny story container.
Add a Date Tag
A simple date tag helps you remember when the trip happened. You can use kraft paper, white cardstock, or a small wooden label. Tie it with twine for a beachy, handmade look.
Include a Favorite Memory
Ask each child to share one favorite moment from the beach day. It might be building a sandcastle, seeing a crab, finding a special shell, or eating snacks by the water. Write it down and tuck it inside the jar.
Use Color Themes
For a soft coastal look, choose neutral sand, white shells, beige twine, and pale blue accents. For a brighter kids’ craft, add colorful labels or painted lids. The design can be simple, playful, rustic, or elegant depending on your style.
Create One Jar Per Trip
If your family visits different beaches or travels often, make one jar for each location. Over time, you can build a collection of beach memory jars that tell the story of family vacations through the years.
Beach Memory Jars as Kids’ Summer Crafts
This is an excellent summer craft because it combines outdoor exploration with creative making. Kids are not just sitting at a table with supplies. They are participating in the full process, from collecting beach finds to turning them into a keepsake.
For younger children, keep the activity simple. Give them a jar, a small scoop of sand, and a few larger shells. For older kids, offer more options like labels, charms, layered sand, and handwritten notes. Teenagers may enjoy creating more aesthetic jars that match their bedroom decor.
Important: This craft is also a gentle way to teach kids that memories can be preserved creatively. Instead of buying a souvenir, they learn to notice, collect, reuse, and design something meaningful from the experience itself.
Safety and Practical Tips for Crafting With Kids
Because this project often uses glass jars and small objects, a little preparation makes the activity safer and easier. Choose age-appropriate materials and supervise younger children closely. If glass is not ideal, clear plastic jars can still create a similar look.
Keep Small Items Away From Toddlers
Shells, pebbles, corks, and charms can be choking hazards for very young children. For toddlers, use larger shells and a plastic container, or let them help decorate the outside while an adult handles the filling.
Use Dry Materials Only
Moisture can make the jar cloudy or messy. Make sure sand and shells are dry before sealing the lid. This also helps the jar last longer as a keepsake.
Avoid Taking Protected Natural Items
Some beaches have rules about collecting shells, sand, coral, rocks, or natural materials. Always follow local guidelines. If collecting is not allowed, use craft sand and store-bought shells, then add a handwritten note or photo from the trip.
How to Style Beach Memory Jars at Home
A finished beach memory jar can blend beautifully into coastal, farmhouse, cottage, or casual family decor. The natural colors make it easy to display without feeling too bright or busy. Place one jar by itself for a simple accent, or group several together for a collected look.
Try styling a memory jar on a tray with a small candle, a stack of books, or a framed vacation photo. In a kids’ room, display it on a shelf with other travel treasures. In a living room, place it near natural textures like woven baskets, linen fabrics, or light wood.
The charm of this craft is that it does not have to look perfect to be beautiful. The twine, sand, and uneven shells give it character. That handmade quality is exactly what makes it feel warm and personal.
Memory Jar Variations to Try
Once you make one beach memory jar, it is easy to adapt the idea for other seasons, trips, and family milestones. The same concept can work for camping, road trips, nature walks, birthdays, or school-year memories.
Vacation Memory Jar
Fill a jar with small maps, ticket stubs, shells, stones, notes, or tiny souvenirs from a family trip. Add the destination and year on a tag.
Seashell Collection Jar
Use one jar just for favorite shells. This is a great option for kids who love collecting and sorting by shape, size, or color.
Mini Beach Terrarium Look
Create a layered look with sand at the bottom, stones in the middle, and shells arranged on top. Keep it dry and decorative rather than adding plants or water.
Family Memory Jar Set
Let each child make their own jar from the same trip. It is fun to see how different each one turns out based on what each child noticed and loved most.
Common Mistakes to Avoid
Although this DIY craft is simple, a few small mistakes can affect the final result. Avoiding them will help your jar look cleaner and last longer.
- Using damp sand: Always dry sand before adding it to the jar.
- Overfilling the jar: Leave space so the design does not look cramped.
- Choosing items that are too large: Test shells and stones before placing them inside.
- Skipping labels: A date or location tag makes the keepsake more meaningful later.
- Using fragile jars with young kids: Choose sturdy glass or clear plastic for safer crafting.
At a Glance
- Best project type: easy summer craft for kids and families
- Main materials: clear jar, sand, shells, twine, labels
- Decor style: coastal, rustic, handmade, sentimental
- Best use: vacation keepsake, shelf decor, family memory display
- Skill level: beginner-friendly and budget-friendly
Conclusion: Turn Beach Treasures Into Lasting Memories
A DIY beach memory jar is more than a cute craft. It is a way to slow down, notice the small details, and preserve a family moment in a form you can see every day. With a little sand, a few shells, some twine, and a simple jar, kids can create a keepsake that captures the feeling of a beach trip long after the towels are washed and the vacation photos are stored away.
This project is easy enough for a relaxed afternoon, meaningful enough to become a family tradition, and beautiful enough to display as coastal decor. Each jar holds its own story, shaped by the beach visited, the treasures collected, and the hands that made it. Whether you create one after a seaside vacation or plan a whole collection of jars from future trips, this simple craft is a lovely reminder that memories do not have to be complicated to be worth keeping.
Tags
DIY Memory Jar Beach Crafts Kids Summer Crafts Vacation Keepsakes Seashell Crafts Coastal Decor Family Craft Ideas Summer Memories