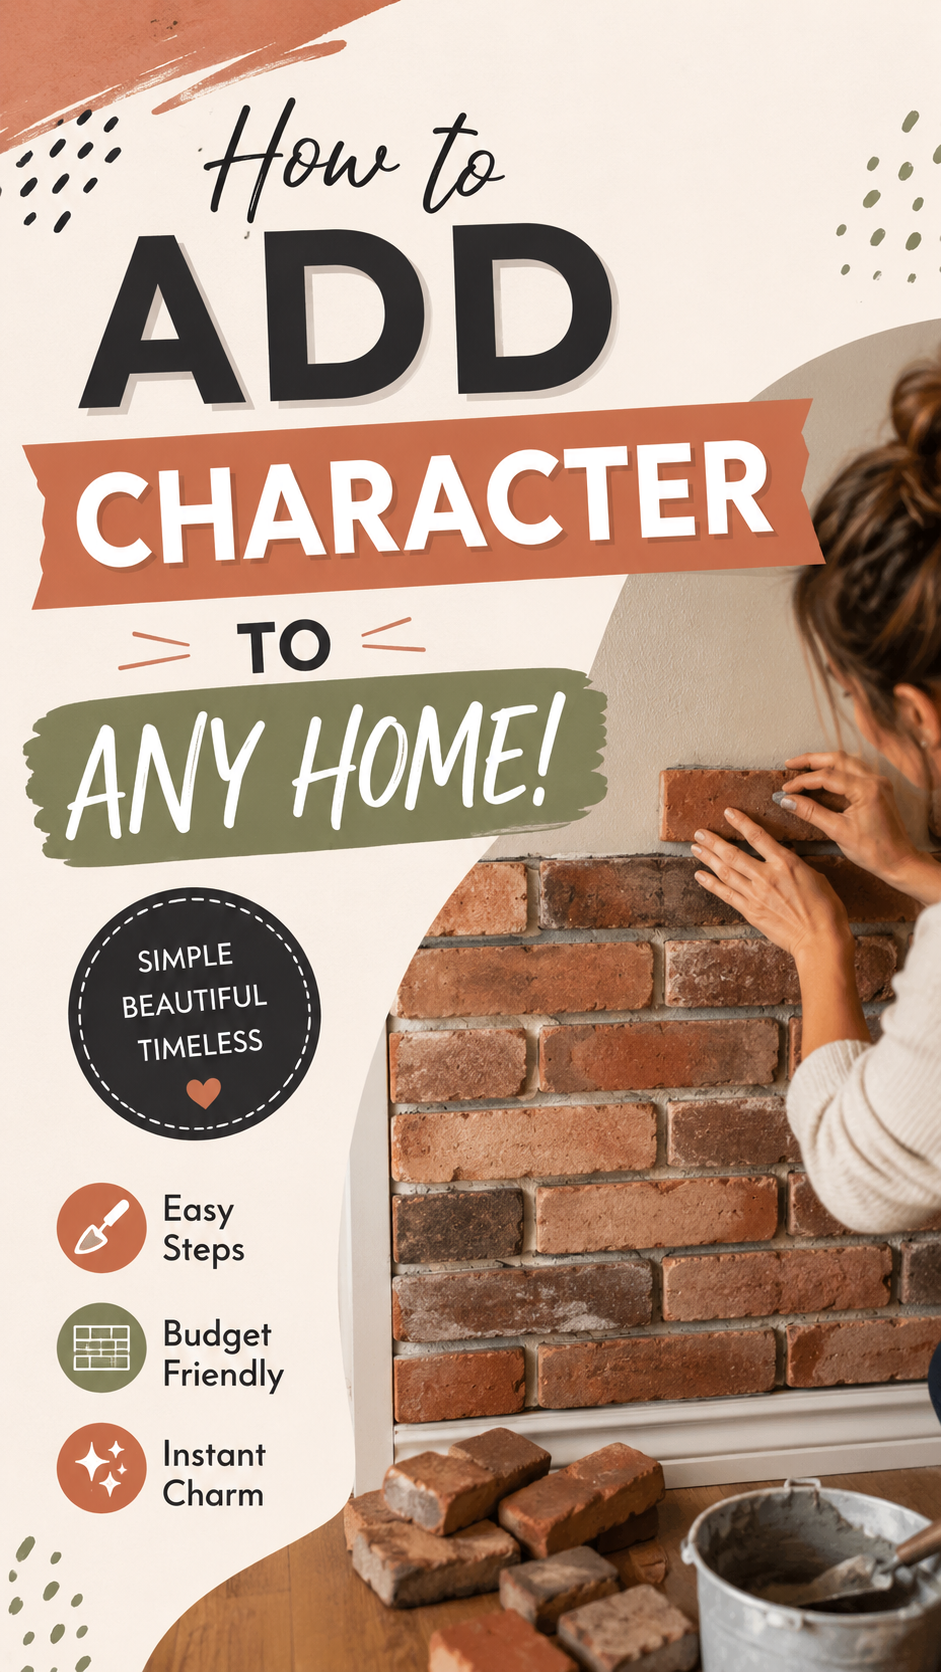
Few DIY projects transform a room as dramatically as adding a brick accent wall. A plain surface instantly gains warmth, texture, and timeless character, creating a focal point that feels both cozy and sophisticated. The best part is that you no longer need to build a traditional masonry wall to achieve this classic look. Modern faux brick systems, reclaimed brick veneers, and thin brick panels make it possible for homeowners to create a stunning feature wall with less weight, lower cost, and far less mess than conventional brick construction.
Whether you want to upgrade a living room, fireplace surround, entryway, dining space, or home office, a brick-inspired accent wall delivers lasting visual appeal. With careful planning, quality materials, and attention to detail, this DIY home improvement project can completely change the atmosphere of your home while increasing its design value.
Key Takeaways
- Brick accent walls instantly add warmth, depth, and texture.
- Faux brick veneer offers a budget-friendly alternative to full masonry.
- Careful layout planning creates a more authentic finished appearance.
- Proper surface preparation improves durability and adhesion.
- Simple styling choices help showcase the finished wall beautifully.
Why Brick Accent Walls Never Go Out of Style
Brick has remained one of the most beloved interior finishes for decades because it balances rustic charm with modern elegance. Unlike trendy finishes that quickly fall out of fashion, exposed brick continues to complement farmhouse, industrial, Scandinavian, minimalist, vintage, and contemporary interiors.
The natural variations in brick color, subtle imperfections, and textured surfaces introduce depth that painted drywall simply cannot replicate. Even a single brick feature wall can dramatically improve the personality of a room.
Important: The beauty of a brick accent wall comes from its imperfections. Slight color variation, textured surfaces, and staggered joints work together to create a realistic and timeless finish that feels authentic rather than manufactured.
Choosing the Right Brick Style
Before starting your project, think about the atmosphere you want to create. Different brick styles produce completely different moods.
Traditional Red Brick
Classic red brick creates warmth and works especially well in cozy family rooms, fireplaces, kitchens, and dining spaces.
Whitewashed Brick
Whitewashed finishes brighten interiors while preserving the natural texture of brick. They pair beautifully with coastal, Scandinavian, and cottage-inspired designs.
Dark Industrial Brick
Darker tones create a dramatic statement and complement black metal fixtures, exposed wood beams, and modern furnishings.
Weathered Reclaimed Brick
Reclaimed-inspired finishes introduce history and character with subtle color variation and worn edges that feel naturally aged.
Planning Your DIY Brick Wall
A successful installation begins long before the first brick is placed. Taking time to plan the layout results in a cleaner, more professional appearance.
- Measure the wall carefully.
- Calculate material requirements.
- Dry-fit several rows before installation.
- Determine where cut pieces will be placed.
- Maintain consistent spacing between bricks.
- Protect nearby flooring and furniture.
Many DIY enthusiasts begin at the bottom of the wall and work upward using staggered joints that resemble traditional brick construction. This approach creates a balanced and realistic appearance.
Expert Insight
Take photographs of your dry layout before attaching any bricks. Reviewing the pattern from a distance often reveals spacing adjustments that make the finished wall look even more natural.
Preparing the Wall Surface
Preparation is one of the most overlooked parts of any DIY home improvement project. A clean, stable surface gives adhesives or mortar the best possible bond.
Remove loose paint, dust, grease, and debris before beginning. Repair major holes or damaged drywall and ensure the surface is relatively level. Proper preparation helps prevent future lifting or uneven placement.
Pro Tip: Mark horizontal guide lines across the wall before installation begins. These simple reference lines help maintain consistent rows throughout the project and reduce alignment mistakes.
Creating a Natural Brick Pattern
The most convincing brick walls avoid perfect repetition. Traditional brick construction relies on staggered joints that distribute visual weight evenly across the wall.
Mix bricks from different boxes whenever possible to blend subtle color variations naturally. Rotate pieces occasionally to prevent repeating textures from becoming noticeable.
Maintain Consistent Spacing
Uniform mortar gaps help achieve a professional finish while still allowing each brick to display its individual texture.
Blend Color Variations
Natural brick rarely appears identical from piece to piece. Mixing lighter and darker tones produces a far more authentic appearance.
Where Brick Accent Walls Work Best
One of the biggest advantages of this project is its versatility. Brick complements many areas throughout the home.
- Living room feature walls
- Fireplace surrounds
- Dining room focal points
- Kitchen breakfast nooks
- Home offices
- Entryways
- Bedroom headboard walls
- Reading corners
Even relatively small spaces benefit from the added texture without feeling overwhelming when balanced with lighter furnishings and simple décor.
Styling Around Your Finished Wall
After completing the installation, thoughtful decorating helps the brick become the centerpiece rather than competing with surrounding elements.
Keep Furniture Simple
Neutral sofas, natural wood furniture, and clean-lined shelving allow the wall texture to stand out.
Use Layered Lighting
Wall sconces, floor lamps, and directional lighting emphasize the dimensional surface while creating cozy evening ambiance.
Add Natural Materials
Wood, leather, linen, woven baskets, and greenery pair beautifully with exposed brick and soften the overall appearance.
Important: Resist the urge to overdecorate a brick accent wall. Allowing portions of the surface to remain visible preserves the texture and character that make the feature wall so impactful.
Common DIY Mistakes to Avoid
- Skipping surface preparation.
- Ignoring layout planning.
- Using inconsistent spacing.
- Installing without level guide lines.
- Rushing adhesive curing time.
- Creating repetitive brick patterns.
A slower, more deliberate installation almost always produces noticeably better results.
Budget-Friendly Ways to Maximize the Look
Creating an upscale appearance does not always require expensive materials. Faux brick veneer, reclaimed-look panels, and thin brick products can all produce impressive results when installed carefully.
Instead of covering every wall, focus on a single statement surface. One beautifully executed accent wall often has greater visual impact than multiple partially finished projects throughout the home.
At a Glance
- Choose a realistic brick finish.
- Plan the layout before installation.
- Maintain even spacing throughout.
- Style with simple furniture and warm lighting.
- Let the brick remain the room’s focal point.
Conclusion
A DIY brick accent wall is one of the most rewarding home improvement projects for anyone looking to introduce texture, warmth, and lasting character into their living space. From careful planning and thoughtful installation to complementary decorating choices, every step contributes to a finished wall that feels authentic and inviting.
Whether your style leans modern, rustic, industrial, or classic, a well-designed brick feature wall creates an eye-catching backdrop that elevates everyday living. With patience, quality materials, and attention to detail, this timeless upgrade can transform an ordinary room into a memorable space you’ll enjoy for years to come.
Tags
DIY Home Improvement Brick Accent Wall Faux Brick Interior Design Budget Renovation Home Decor Ideas DIY Projects Accent Wall Ideas