Wood block crafts have become one of the most charming and accessible ways to bring seasonal personality into the home, and this pumpkin-themed wooden block design captures that spirit perfectly. With stacked cubes painted as playful jack-o’-lantern faces, this decor idea blends rustic farmhouse aesthetics with a cozy autumn vibe. It is simple, budget-friendly, and visually striking, making it a favorite for DIY lovers who want to refresh their space for fall without complicated materials or advanced skills.
Key Takeaways
- Wood block pumpkin crafts are simple, beginner-friendly DIY projects
- Perfect for Halloween and autumn seasonal home decor styling
- Requires minimal materials like scrap wood, paint, and brushes
- Works well with farmhouse, rustic, and modern decor styles
- Can be customized with different facial expressions and colors
- Ideal for shelves, entryways, mantels, and tabletop displays
DIY Pumpkin Wood Block Crafts Overview
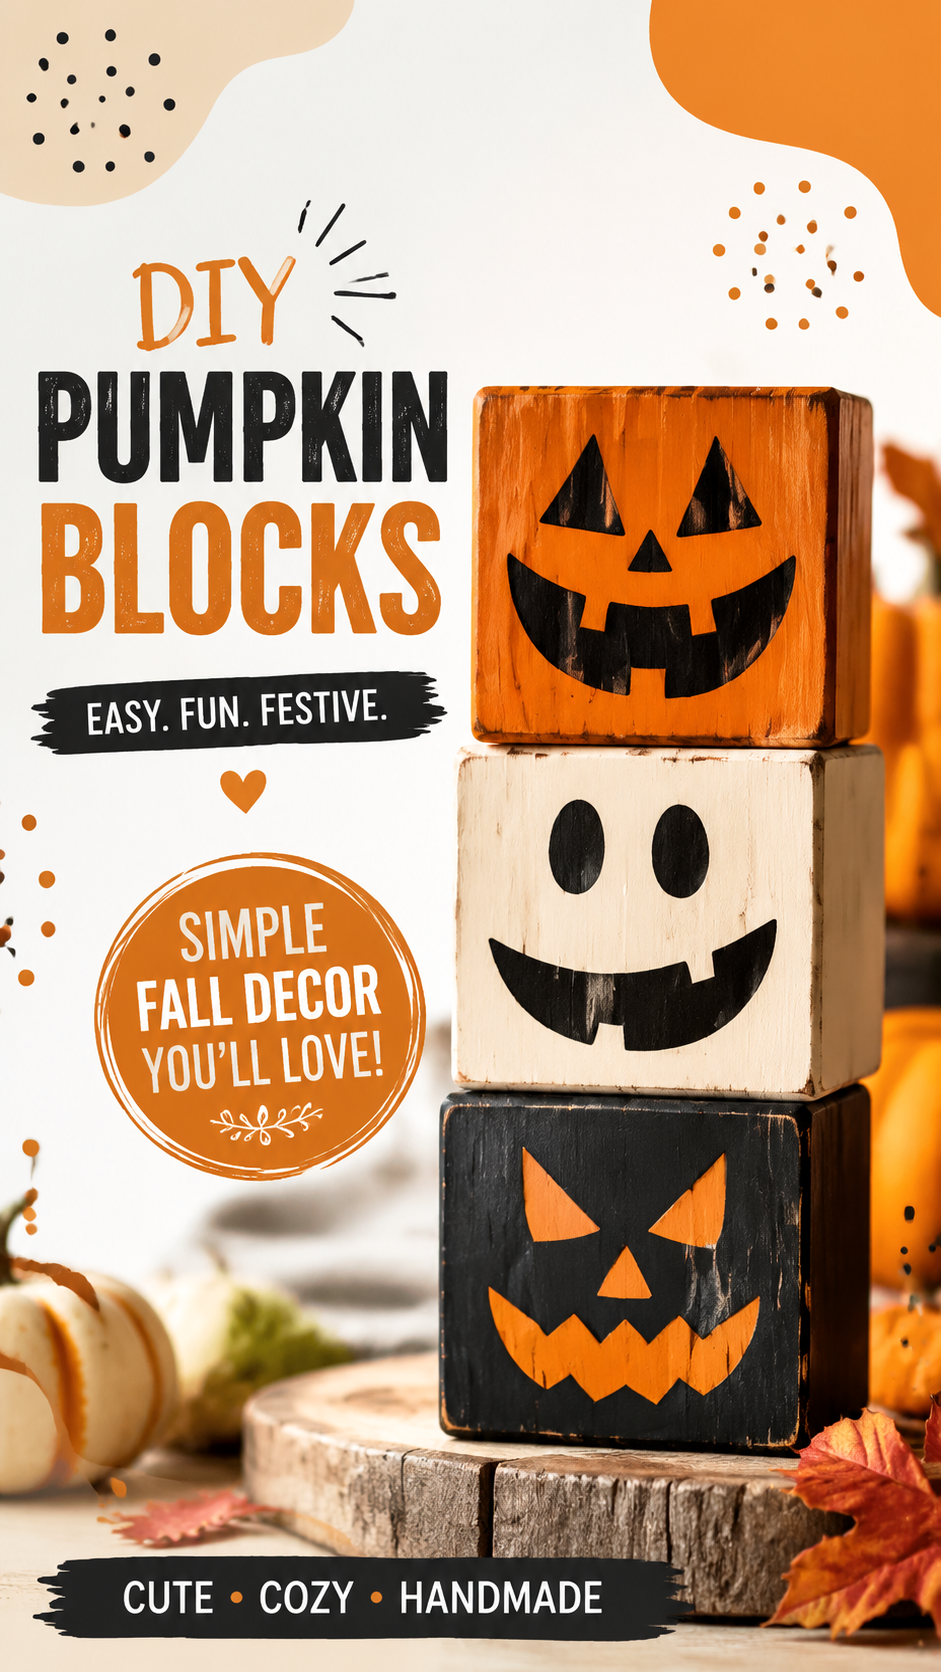
This stacked pumpkin block decoration features three wooden cubes painted in warm autumn tones and expressive jack-o’-lantern faces. Each block contributes to a playful character design that feels both festive and handcrafted. The visual appeal lies in its simplicity, where basic shapes and bold facial features create a strong seasonal identity without requiring complex artistic techniques.
Important: What makes this type of wood block craft especially appealing is its ability to transform ordinary scrap wood into decorative art that feels intentional, stylish, and seasonal. It is an excellent example of how minimal materials can produce high visual impact when combined with thoughtful design.
These types of DIY projects are increasingly popular in home decor communities because they are affordable, customizable, and perfect for weekend crafting sessions. Whether displayed alone or grouped with other fall decorations, pumpkin wood blocks instantly add warmth to any space.
Why These Pumpkin Blocks Are Popular in Seasonal Decor
Pumpkin-themed decor remains a staple of autumn styling, and wood block versions offer a modern twist on traditional decorations. Instead of real pumpkins or plastic ornaments, these handcrafted pieces provide a reusable, eco-friendly option that can be stored and brought out year after year.
- They fit perfectly into the farmhouse decor trend
- They offer a handmade aesthetic that store-bought decor often lacks
- They are highly customizable with paint colors and facial expressions
- They work in both minimalist and heavily decorated seasonal setups
Pro Tip: When designing your own pumpkin blocks, try mixing expressions across each cube. A combination of happy, spooky, and silly faces creates visual storytelling that makes the decor more engaging and dynamic.
Expert Insight
Layered wood block decor performs especially well in seasonal styling because it naturally adds height variation and structure to flat surfaces like shelves and mantels. This makes even small decorative pieces feel more intentional and professionally styled.
Materials and Tools Needed
One of the biggest advantages of this DIY project is its simplicity. Most materials can be sourced from leftover craft supplies or inexpensive hardware store finds. You do not need professional woodworking tools or advanced painting skills.
- Small wooden blocks or scrap wood cut into cubes
- Acrylic paint in orange, black, white, and neutral tones
- Fine and medium paint brushes
- Sandpaper for smoothing edges
- Wood glue (optional for stacking stability)
- Sealer or matte finish spray for durability
Important: Properly sanding the wood before painting helps achieve a smoother finish and improves paint adhesion. This step ensures the final product looks polished rather than rough or unfinished.
Step-by-Step DIY Process
Creating pumpkin wood blocks is straightforward and beginner-friendly. The process is designed to be flexible so you can adjust colors, faces, and arrangement based on your personal style.
Step 1: Prepare the Wood Blocks
Start by cutting or selecting wooden cubes of similar size. Sand all edges lightly to remove splinters and create a smooth surface for painting.
Step 2: Apply Base Colors
Paint each block with a base color. Traditional pumpkin tones include orange, cream, and deep charcoal. Allow each layer to dry completely before adding details.
Step 3: Add Facial Features
Using black paint, create jack-o’-lantern faces on each block. You can experiment with triangle eyes, curved smiles, or spooky expressions depending on your desired theme.
Step 4: Stack and Secure
Once dry, stack the blocks vertically. You can leave them loose for flexibility or glue them together for a more permanent sculpture-style decoration.
Step 5: Final Sealing
Apply a protective sealant to preserve the paint and extend the life of your craft. This is especially useful if the decor will be displayed near windows or in humid environments.
Creative Design Variations
One of the best parts of wood block crafts is the ability to personalize them endlessly. While pumpkin faces are a classic choice, there are many ways to expand the design concept.
- Use pastel colors for a modern, aesthetic fall look
- Mix glitter paint for a festive Halloween sparkle effect
- Paint seasonal words like “boo,” “fall,” or “harvest”
- Add small accessories like mini hats or fabric scarves
Important: Experimenting with color palettes can completely change the mood of your decor. Muted tones create a cozy farmhouse vibe, while bright oranges and blacks lean into traditional Halloween styling.
Where to Display Pumpkin Wood Blocks
These decorative blocks are highly versatile and can be placed in many areas of the home. Their compact size makes them ideal for small and large spaces alike.
- Entryway tables for a welcoming seasonal touch
- Living room shelves or bookshelves
- Kitchen counters for subtle fall accents
- Fireplace mantels as a centerpiece display
They also pair beautifully with other natural elements like dried leaves, mini pumpkins, candles, and rustic baskets. This combination helps create a layered seasonal aesthetic that feels warm and inviting.
At a Glance
- Simple DIY fall craft using wood cubes
- Perfect for Halloween and autumn decor themes
- Customizable facial expressions and color styles
- Works well in farmhouse and modern interiors
- Quick weekend project with minimal tools required
Common Mistakes to Avoid
While this project is simple, a few common mistakes can affect the final result. Avoiding these ensures a cleaner and more professional-looking finish.
- Skipping sanding, which leads to uneven paint application
- Applying thick layers of paint that cause dripping
- Not allowing enough drying time between steps
- Ignoring proportion consistency between stacked blocks
Pro Tip: Use light pencil sketches before painting faces. This helps you position eyes and mouths more accurately and reduces the chance of repainting.
Final Thoughts
Pumpkin wood block crafts are more than just seasonal decorations, they are a creative outlet that brings warmth and personality into the home. Their handmade charm, combined with their simple construction, makes them a perfect project for beginners and experienced crafters alike. Whether displayed alone or as part of a larger fall arrangement, they add a cozy and festive touch that instantly elevates any space.
With endless customization options and minimal materials required, this DIY idea continues to be a favorite for autumn decorating. It blends creativity, affordability, and seasonal charm into one simple project that anyone can enjoy.
Tags
#WoodBlockCrafts #DIYHomeDecor #PumpkinDecor #HalloweenCrafts #FallDecor #FarmhouseDIY #AutumnCraftIdeas