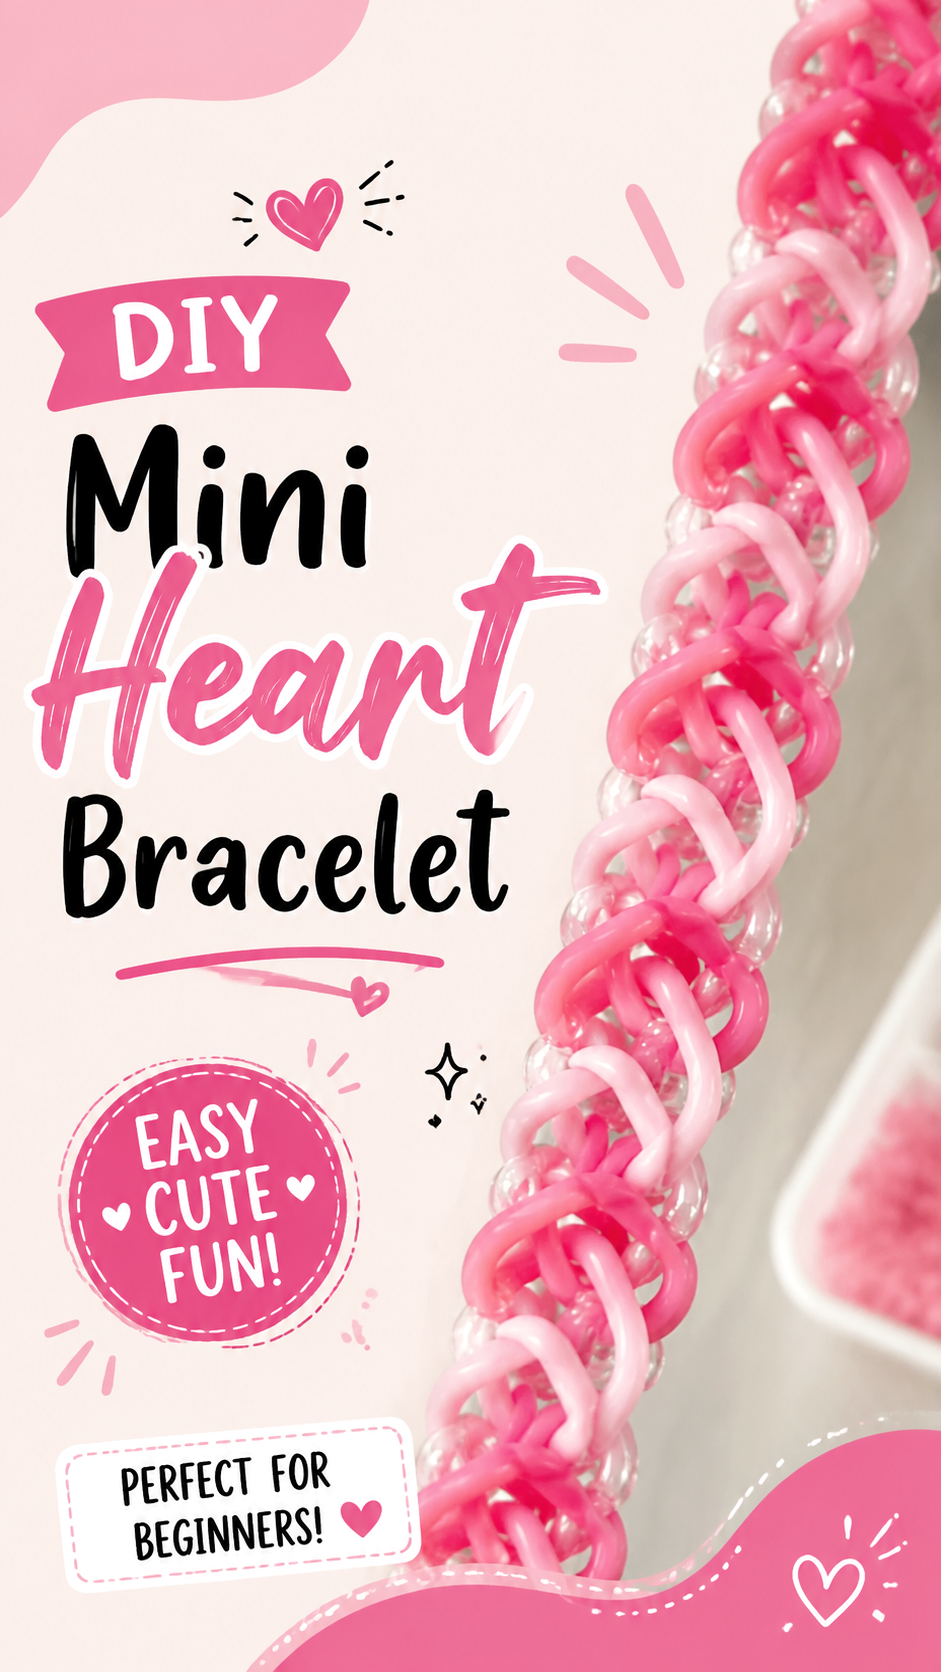
Mini heart loomband bracelets have become one of the most loved DIY crafts for beginners and creative hobby lovers. This charming pink bracelet design shows how simple rubber bands can be transformed into a stylish, wearable accessory with a soft handmade touch. Whether you are crafting for fun, gifting a friend, or exploring new bracelet ideas, this style is perfect for adding personality to your handmade jewelry collection.
Key Takeaways
- Easy mini heart loomband design suitable for beginners
- Uses simple rubber bands and basic looping techniques
- Perfect for friendship gifts and DIY jewelry projects
- Customizable with colors for unique bracelet styles
- Great creative activity for kids and craft lovers
The Charm of Mini Heart Loomband Bracelets
Loomband bracelets have remained popular for years because they are fun, affordable, and highly customizable. The mini heart design adds an extra layer of creativity, making the bracelet feel more personal and expressive. The soft pink tones often used in this style give it a cute, playful look that appeals to both kids and teens.
Important: What makes this bracelet style stand out is the repeating heart pattern created through simple weaving techniques. Even beginners can achieve impressive results with a little patience and practice.
Why This Design Is So Popular
This bracelet style is trending in DIY communities because it blends simplicity with aesthetic appeal. Unlike complex jewelry-making techniques, loomband crafts require minimal tools and still produce visually impressive results. The mini heart pattern especially adds emotional value, often symbolizing friendship, love, and creativity.
- Visually appealing heart chain effect
- No advanced tools required
- Quick to learn and repeat
- Highly shareable on social media platforms like Pinterest
Materials Needed for Loomband Bracelet Making
Before starting your mini heart bracelet, it is important to gather the right materials. The process is simple, but having quality supplies ensures a smoother crafting experience and a more polished final result.
Pro Tip: Choose soft, stretchy rubber bands in pastel or gradient shades to achieve a more professional and visually pleasing bracelet design.
Basic Supplies
- Colored rubber bands (pink, red, white, or custom shades)
- Plastic loom board or simple hook tool
- S-clips or C-clips for fastening
- Optional beads for decorative enhancement
Step-by-Step Mini Heart Bracelet Process
Creating a mini heart loomband bracelet may look complex at first glance, but the process becomes easy once you understand the pattern. The design is built through repetitive looping that forms connected heart shapes along the bracelet chain.
Important: Consistency in tension is key. Keeping your loops even ensures that the heart pattern stays symmetrical and visually balanced.
Step 1: Setting Up the Base
Start by placing your first rubber band on the loom in a simple twist. This acts as the foundation of your bracelet. Make sure it is secure before continuing to the next step.
Step 2: Building the Heart Pattern
Add bands in alternating colors and loop them carefully over the previous layers. Each sequence will begin to form the recognizable heart shape. This step requires attention but is easy to repeat once you get the rhythm.
Step 3: Extending the Bracelet
Continue adding loops in the same pattern until you reach your desired bracelet length. The repetition creates a beautiful chain of mini hearts that gives the bracelet its signature look.
Step 4: Finishing Touches
Secure the ends using an S-clip or similar connector. Adjust the bracelet gently to ensure all loops are aligned and the design appears smooth and even.
Expert Insight
Adding slight color variations between each heart section can enhance visual depth and make your bracelet look more dynamic. This small creative choice can elevate a simple design into a standout handmade accessory.
Creative Variations and Styling Ideas
One of the best things about loomband bracelets is their flexibility. You can easily customize your mini heart design to match different styles, moods, or occasions. By changing colors or adding small accessories, you can create completely unique looks.
- Use rainbow colors for a playful, vibrant bracelet
- Try pastel shades for a soft aesthetic look
- Add metallic or glow bands for a modern twist
- Incorporate tiny charms for personalization
Important: Mixing textures and colors thoughtfully can turn a simple bracelet into a fashionable accessory that stands out in any handmade collection.
Common Mistakes to Avoid
Beginners often face small challenges when creating loomband bracelets. These mistakes are easy to fix once you know what to look for.
- Using uneven tension while looping bands
- Skipping steps in the heart pattern sequence
- Choosing bands that are too stiff or low quality
- Not securing ends properly with clips
Pro Tip: Take your time during the first few rows. Once the pattern becomes familiar, the process becomes much faster and more enjoyable.
Quick Points
- Mini heart loomband bracelets are beginner-friendly
- They require only basic crafting tools
- Customization makes each piece unique
- Perfect for gifts and personal accessories
- Highly popular in DIY and craft communities
Conclusion
The mini heart loomband bracelet is more than just a craft project. It is a creative expression of style, patience, and imagination. With simple materials and easy techniques, anyone can create beautiful handmade jewelry that feels personal and meaningful. Whether you are crafting alone or with friends, this design offers a relaxing and rewarding experience that continues to inspire DIY enthusiasts around the world.
Tags
loomband bracelets DIY bracelet mini heart bracelet friendship bracelets rubber band crafts DIY jewelry ideas craft tutorials