A beautiful garden privacy feature can completely change the way an outdoor space feels. Instead of looking at a plain wall, open fence, or exposed patio, you can create a cozy corner that feels intentional, stylish, and relaxing. One of the most practical DIY garden privacy ideas is a modern slatted privacy screen with a built-in planter. It adds structure, creates separation, and brings greenery into the design without overwhelming a small backyard or patio.
This type of project is especially appealing because it combines two outdoor essentials in one clever feature. The vertical screen helps block unwanted views, while the planter box softens the look with plants, herbs, grasses, or flowers. The result feels modern, warm, and functional. Whether you want privacy for a seating area, a dining spot, a balcony-style patio, or a backyard lounge zone, this idea offers a polished look that still feels approachable for a DIY project.
Key Takeaways
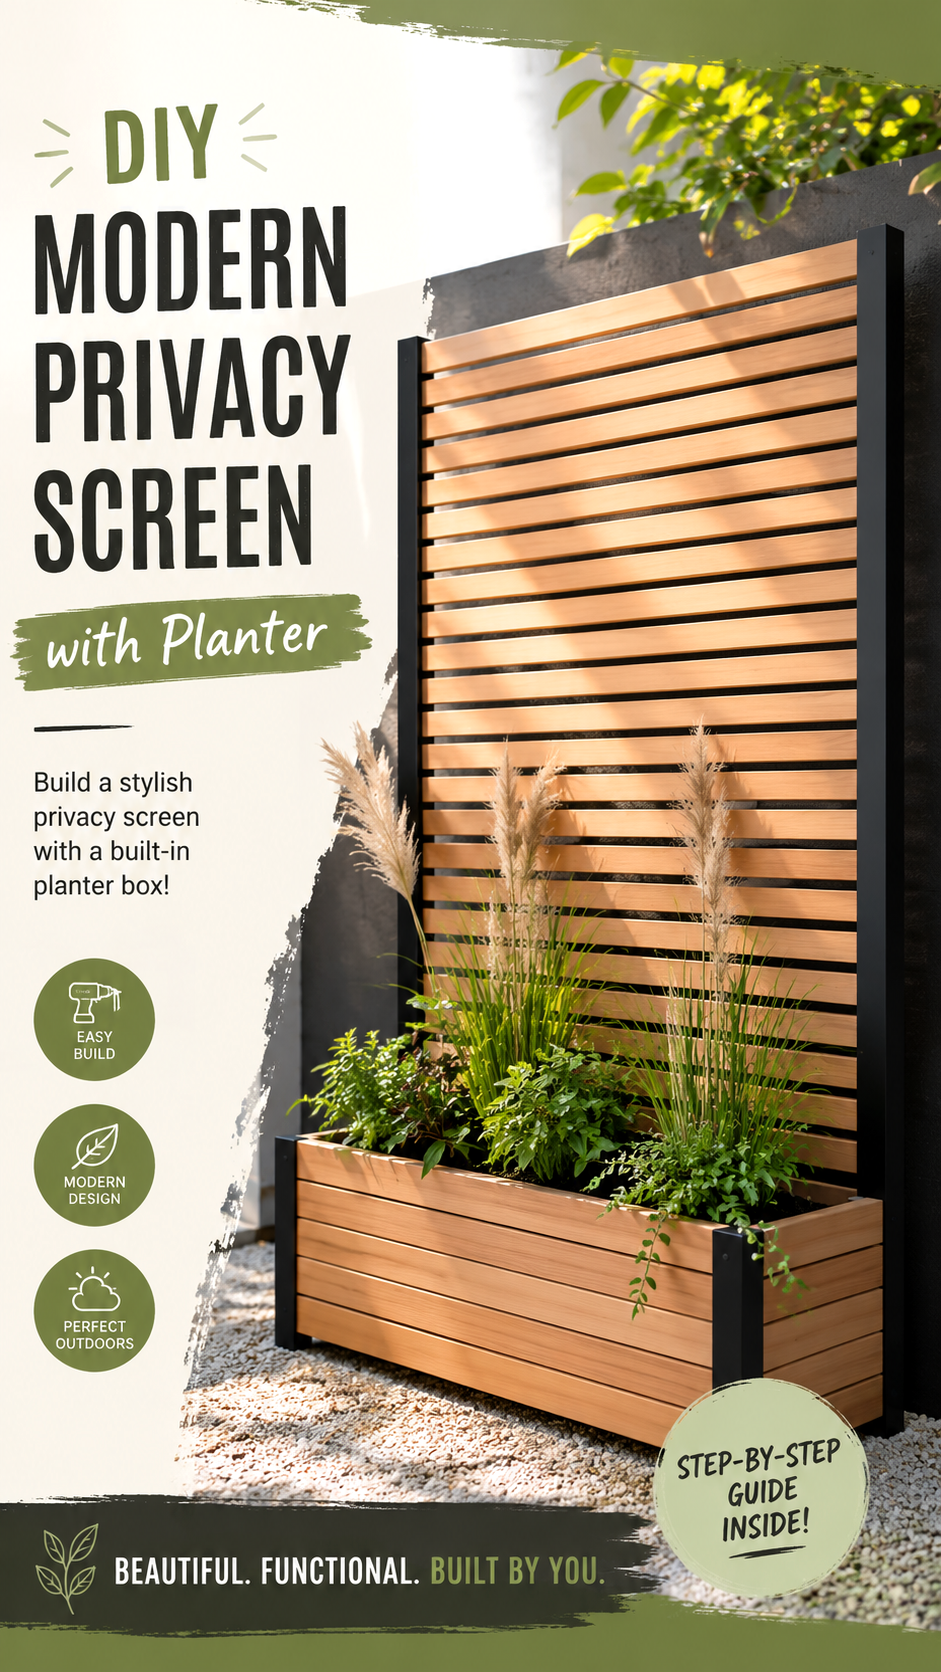
- A slatted privacy screen is a stylish way to define an outdoor area.
- A built-in planter adds greenery, texture, and softness to the structure.
- Wood tones paired with dark posts create a clean modern garden look.
- This idea works well for patios, small gardens, side yards, and backyard seating areas.
- Choosing the right plants can improve privacy while keeping the design low maintenance.
Why a DIY Garden Privacy Screen Works So Well
A garden privacy screen is more than a barrier. It can become a focal point, a backdrop, and a design feature all at once. Many outdoor spaces need privacy, but a tall fence or solid wall can sometimes feel heavy. A slatted screen solves that problem by creating visual separation while still allowing light and air to move through the space.
The horizontal wood slats create a sleek, contemporary look. They make the outdoor area feel wider and more structured, which is useful for small patios or narrow side yards. The built-in planter at the base balances the height of the screen and prevents the structure from looking too plain. Plants also help the feature blend naturally into the garden.
Important: The best DIY garden privacy ideas do not just hide a view. They improve the atmosphere of the space. A privacy screen should feel like part of the garden design, not an afterthought.
The Appeal of a Slatted Wood Design
Slatted wood screens are popular because they feel clean, simple, and timeless. The narrow gaps between the boards keep the design from feeling too solid, while the repeated lines add rhythm and visual interest. This look works with many outdoor styles, including modern garden decor, minimalist patios, Scandinavian-inspired spaces, and warm contemporary backyards.
The contrast between natural wood and dark vertical posts is especially effective. The wood brings warmth, while the dark framing adds definition. This combination makes the privacy screen feel finished and intentional, even when the rest of the garden is simple.
Best Places to Use This Privacy Idea
A slatted garden privacy screen with a planter can be used in several outdoor areas. Place it behind a bench to create a cozy seating nook. Use it beside a patio dining table to add privacy from neighboring spaces. Position it along a side yard to turn a narrow passage into a more attractive garden feature. It can also work near a hot tub, outdoor shower area, or small lounge corner where privacy matters most.
Because the design is vertical, it is also useful where floor space is limited. The planter box provides room for greenery without requiring separate pots scattered around the patio. That makes it a smart choice for compact outdoor spaces.
Planning Your DIY Garden Privacy Project
Before building any outdoor privacy feature, start by thinking about your main goal. Do you want to block a direct view? Create a decorative backdrop? Add greenery to a hardscape patio? Define a garden room? Your answer will guide the height, width, materials, and plant choices.
Measure the area carefully and consider how much privacy you actually need. A full-height screen can make a strong statement, but a shorter screen may be enough for seating areas. Also think about sunlight. If your planter will sit in full sun, choose plants that can tolerate heat. If the spot is shaded, select greenery that thrives with less direct light.
Check the Setting Before You Build
Outdoor projects need to work with the space around them. Look at the wall, fence, paving, garden beds, and furniture nearby. A privacy screen should complement those features. For a modern patio, clean lines and simple materials usually work best. For a softer garden style, you can add trailing plants, ornamental grasses, or flowering varieties to make the screen feel more organic.
It is also wise to check local rules before installing a tall structure, especially near property lines. Some areas have height limits or guidelines for outdoor screens and fences. Taking a few minutes to check can save frustration later.
Choosing Materials for a Modern Privacy Screen
The materials you choose will affect the look, strength, and maintenance of the project. Wood is a classic choice because it feels warm and natural. Cedar, redwood, pressure-treated lumber, and exterior-grade boards are common options for outdoor DIY projects. Composite slats can also be used if you want a lower-maintenance finish.
The posts need to be sturdy because they support the vertical structure. Dark posts can create a bold, modern frame, while matching wood posts create a softer, more seamless look. For the planter box, choose materials that can handle moisture, soil, and outdoor conditions.
Finishes That Help the Design Last
Outdoor wood should be sealed, stained, or protected according to the material type. A clear exterior finish can preserve a natural wood tone, while a stain can help match the screen to decking, fencing, or patio furniture. Dark posts may need exterior paint or a weather-resistant coating to keep them looking crisp.
Pro Tip: Choose a wood tone that connects with another element in your outdoor space, such as decking, furniture, raised beds, or planters. This helps the privacy screen feel like part of a complete design.
How the Built-In Planter Adds Function and Beauty
The planter is what makes this privacy idea feel especially useful. Instead of simply adding a wall of wood, the planter introduces life, movement, and seasonal color. It also creates a heavier base visually, which makes the screen appear grounded and balanced.
A planter box can be filled with many types of plants depending on your style and climate. Ornamental grasses create height and softness. Herbs add fragrance and function. Ferns bring lush texture to shady spots. Flowering annuals add color for spring and summer. Evergreen plants can keep the feature attractive all year.
Plant Ideas for Privacy and Style
For extra privacy, choose plants with upright growth. Tall grasses, compact shrubs, bamboo varieties suitable for containers, and dense foliage plants can help fill the lower part of the screen. For a softer look, mix heights and textures. Combine one taller plant with trailing greenery and smaller flowering plants.
- Ornamental grasses: Great for movement, height, and a modern garden feel.
- Lavender or rosemary: Useful for sunny spaces and fragrant patio corners.
- Ferns: Ideal for shade and lush green texture.
- Trailing plants: Perfect for softening the edges of the planter box.
- Seasonal flowers: Easy to refresh when you want a new look.
Expert Insight
A built-in planter works best when it looks full but not crowded. Leave enough room for roots to grow, choose plants with similar light and water needs, and refresh the top layer with mulch or decorative stones for a tidy finish.
Design Details That Make the Screen Look High-End
Small design choices can make a DIY privacy screen look more professional. Consistent spacing between slats is one of the most important details. Even gaps create a clean pattern and prevent the design from looking rushed. A simple spacer can help keep boards aligned during installation.
The height of the planter box also matters. A taller planter gives the screen more presence and can help hide the bottom of the structure. A lower planter feels more minimal and may be better for a narrow patio. The right choice depends on the scale of your outdoor area.
Color Pairings for a Modern Garden Privacy Feature
Natural wood with black framing is a strong choice for modern outdoor decor. It pairs beautifully with gray pavers, concrete patios, white gravel, charcoal walls, and simple outdoor furniture. For a softer look, use warm beige, sage green, or taupe accents in nearby cushions and planters.
If you prefer a coastal style, consider lighter wood and white posts. For a rustic garden, choose a deeper stain and more relaxed planting. For a minimalist patio, keep the plant palette simple and use one or two varieties instead of many competing colors.
Keep the Styling Simple
The screen itself already has strong lines, so the surrounding decor does not need to be complicated. A simple outdoor chair, a small side table, a lantern, or a neutral outdoor rug can complete the scene without making the area feel busy.
DIY Build Considerations for Beginners
A project like this can be approachable, but it still requires planning, accurate measuring, and safe installation. The structure should be stable, especially if it is tall or placed in an exposed area. Posts, fasteners, and base construction need to be suited for outdoor use.
Think through the planter before assembly. It should allow for drainage so water does not sit inside and damage the wood or roots. Many DIY builders line the planter interior with appropriate material, add drainage holes, and use a layer of gravel or suitable potting mix depending on plant needs.
Important: Drainage is not optional for a built-in planter. Healthy plants and long-lasting materials both depend on water moving through the container properly.
Helpful Tools and Supplies to Plan For
The exact supply list depends on your design, but most slatted privacy screen projects require exterior boards, sturdy posts, screws or outdoor fasteners, a level, measuring tape, drill, saw, protective finish, and planter materials. If you are not comfortable cutting wood, many home improvement stores can cut boards to size, which makes the project easier to manage.
- Measure twice before cutting or attaching slats.
- Use exterior-rated screws and finishes.
- Keep slat spacing consistent from top to bottom.
- Make sure the planter has proper drainage.
- Choose plants after confirming the light conditions.
How to Style the Area Around the Privacy Screen
Once the screen and planter are in place, the surrounding styling brings the whole idea together. Think of the privacy screen as a backdrop for outdoor living. It can frame a bench, anchor a dining area, or create a calm corner for morning coffee.
Add outdoor furniture that matches the scale of the screen. Large furniture can crowd a small patio, while pieces that are too small may look disconnected. Choose cushions and decor that repeat the colors in the wood, plants, or nearby hardscaping.
Lighting Ideas for Evening Ambience
Soft lighting can make a garden privacy feature feel inviting after sunset. Use solar lanterns, low-voltage garden lights, or small outdoor-safe fixtures near the base. Warm light works well with wood tones and greenery. Avoid overpowering the screen with harsh lighting, since the goal is to create a relaxed outdoor atmosphere.
You can also place small lights inside or near the planter to highlight grasses and foliage. This adds depth and makes the screen feel like an intentional landscape feature rather than a simple divider.
Maintenance Tips for Long-Lasting Garden Privacy
Like any outdoor feature, a wood privacy screen benefits from regular care. Clean the surface when dirt builds up, check fasteners occasionally, and refresh the finish when needed. Plants should be watered according to their needs and trimmed when they begin to block too much airflow or look overgrown.
The planter may need seasonal updates. In spring, add fresh flowers or herbs. In summer, focus on heat-tolerant plants. In fall, add ornamental grasses or hardy greenery. In winter, evergreens, branches, or simple mulch can keep the planter from looking empty.
Simple Seasonal Refresh Ideas
Refresh the look without rebuilding anything by changing the plants, adding decorative stones, updating outdoor pillows, or placing a small pot beside the screen. These small updates keep the space feeling fresh throughout the year.
Budget-Friendly Ways to Adapt the Idea
You do not need a huge budget to recreate the feeling of a modern garden privacy screen. If a full built-in design is not possible, try a smaller freestanding screen with a separate planter in front. You can also build a narrower version for a balcony, a corner screen for a patio, or a low planter with a partial slat backdrop.
Reusing materials can also help. Leftover decking boards, fence boards, or reclaimed wood may work if they are suitable for outdoor use and in good condition. Paint and stain can make mixed materials look more cohesive.
Pro Tip: If you are working with a small patio, keep the screen narrow but tall. Vertical height creates privacy without taking up valuable floor space.
Common Mistakes to Avoid
One common mistake is building a privacy screen that is too bulky for the space. A screen should add comfort, not make the patio feel closed in. Another mistake is ignoring drainage in the planter box. Without proper drainage, plants can struggle and the structure may wear faster.
Uneven slat spacing is another detail that can make the project look less polished. Take your time during installation and check alignment often. Also avoid choosing plants that will quickly outgrow the container. Fast-growing plants may look great at first, but they can become difficult to manage in a built-in planter.
Balance Privacy with Openness
The goal is not always to block everything completely. In many gardens, partial privacy feels better than a solid barrier. Slats, greenery, and thoughtful placement can create a sense of shelter while keeping the area bright and comfortable.
At a Glance
- Best for patios, small gardens, side yards, and outdoor seating zones.
- Use horizontal slats for a clean modern look.
- Add a built-in planter to soften the structure with greenery.
- Choose weather-resistant materials and proper drainage.
- Keep styling simple so the screen remains the focal point.
Conclusion: A Stylish Privacy Upgrade for Any Outdoor Space
DIY garden privacy ideas are most successful when they combine beauty with everyday function. A slatted wood privacy screen with a built-in planter does exactly that. It creates a more private outdoor area, adds architectural interest, and introduces greenery in a compact, organized way.
This project is ideal for anyone who wants a modern backyard feature without making the space feel closed off. The warm wood, clean lines, dark framing, and lush planter all work together to create a polished outdoor look. With the right planning, materials, and plant choices, a privacy screen like this can turn a plain patio or garden corner into one of the most inviting spots at home.
Whether you build a large statement screen or adapt the idea into a smaller version, the concept is flexible, practical, and full of style. It is a smart way to add privacy, improve curb appeal, and make your outdoor space feel more personal.
Tags
DIY Garden Privacy Privacy Screen Ideas Outdoor Planter Box Modern Patio Ideas Backyard DIY Projects Slatted Wood Screen Small Garden Design