Autumn is the perfect season for creative family activities, and nothing captures the cozy spirit of fall quite like turning simple pumpkins into playful works of art. One of the most charming trends gaining popularity is the pumpkin hedgehog craft, a fun and safe alternative to traditional carving that kids absolutely love. Instead of sharp tools and complicated designs, this idea uses simple materials like toothpicks to transform pumpkins into adorable little hedgehogs that bring personality and warmth to any space.
This craft is more than just decoration. It is an opportunity for families, classrooms, and creative groups to enjoy hands-on seasonal fun while encouraging imagination and fine motor skills. Whether you are planning a Halloween activity, a weekend DIY project, or a cozy fall afternoon with kids, this idea is both easy and memorable.
Key Takeaways
- Simple pumpkin hedgehog craft using toothpicks and small pumpkins
- Perfect safe alternative to traditional pumpkin carving for kids
- Encourages creativity, focus, and hands-on learning
- Ideal for fall décor, classroom projects, or family activities
- No sharp carving tools required, making it kid-friendly
What Makes Pumpkin Hedgehog Crafts So Popular?
In recent years, families have been looking for safer and more inclusive alternatives to traditional pumpkin carving. While carving pumpkins remains a Halloween classic, it often requires sharp tools and adult supervision. The pumpkin hedgehog craft offers a refreshing solution that keeps the fun intact while removing the risk.
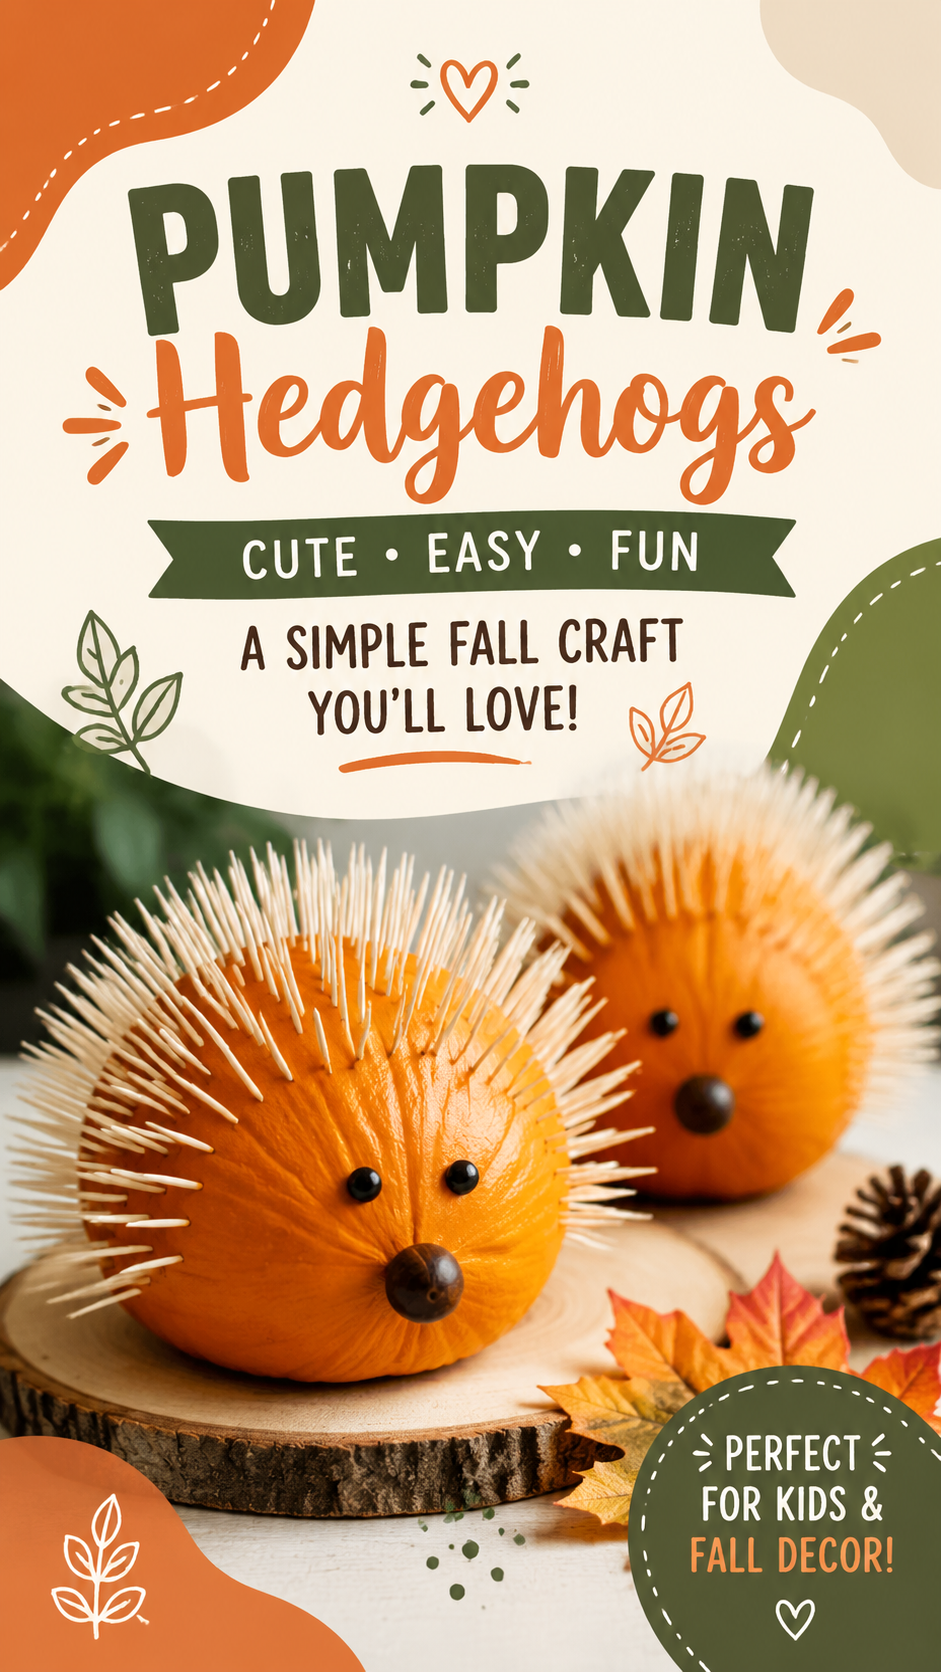
By simply using toothpicks inserted into the pumpkin’s surface, you can create the illusion of soft spines, transforming an ordinary pumpkin into a cute hedgehog character. Adding small details like eyes made from beads or seeds and a tiny nose completes the look, making each creation unique.
Important: This type of craft is especially valuable for younger children who want to participate in seasonal activities but are not yet ready for carving knives. It allows them to take full creative control while staying safe and engaged.
The Creative Appeal of Pumpkin Hedgehogs
What makes this craft stand out is its simplicity combined with high visual impact. Even without artistic experience, anyone can create something that looks charming and intentional. The natural shape of the pumpkin already resembles a rounded animal body, which makes it perfect for turning into a hedgehog with minimal effort.
Each toothpick acts as a “spine,” giving texture and character. When arranged evenly or randomly, they create a playful, slightly whimsical appearance that feels both modern and rustic. This balance is why the craft performs so well on platforms like Pinterest, where visual appeal and uniqueness matter.
Pro Tip: Use pumpkins of different sizes to create a whole family of hedgehogs. Small pumpkins can become baby hedgehogs, while larger ones can serve as parent figures, adding storytelling fun to the activity.
Materials You Need for This Easy Fall Craft
One of the best parts of this activity is how accessible it is. You do not need expensive supplies or complicated kits. Most of the materials can be found at home or purchased cheaply at a local store.
- Small to medium pumpkins (smooth surface works best)
- Wooden toothpicks or cocktail sticks
- Black beads, seeds, or small buttons for eyes
- Small nuts or beads for noses
- A soft cloth for cleaning pumpkins
- Optional: autumn leaves, pinecones, or wooden bases for display
Important: Choosing the right pumpkin is key. Look for pumpkins that are firm, evenly shaped, and not too large. This makes it easier for children to handle and decorate without frustration.
Step-by-Step Guide to Making Pumpkin Hedgehogs
Creating a pumpkin hedgehog is simple, but the process is where the fun really happens. It is a great opportunity for children to follow steps, make design choices, and experiment with placement and texture.
Step 1: Prepare the Pumpkin
Start by gently cleaning the pumpkin’s surface with a dry or slightly damp cloth. Make sure it is free of dirt so decorations stick properly and the surface is smooth for toothpicks.
Step 2: Plan the Design
Before inserting anything, decide where the face will go. Typically, one side of the pumpkin is chosen as the “front.” This is where the eyes and nose will be placed.
Step 3: Add Facial Features
Insert small beads, seeds, or buttons to create eyes. A slightly larger bead or nut can be used for the nose. These simple additions instantly bring the pumpkin to life.
Step 4: Create the Spines
Carefully insert toothpicks across the surface of the pumpkin. They can be placed evenly for a neat look or randomly for a more natural hedgehog appearance. This is the most fun step for children.
Step 5: Final Touches
Add decorative elements like leaves or a wooden base. You can even place your hedgehog on a small bed of autumn leaves to create a cozy seasonal scene.
Expert Insight
Mixing different toothpick lengths can add depth and realism to your pumpkin hedgehog. Slight variations create a more natural, textured appearance that makes the craft stand out visually.
Why Kids Love This Activity
This craft is especially appealing to children because it feels like play rather than structured learning. They get to poke, place, and design freely, which encourages creativity without pressure.
It also provides instant visual feedback. As soon as toothpicks are added, the pumpkin starts transforming into a character. This immediate result keeps kids engaged and excited throughout the process.
Important: Activities like this also help develop patience and coordination. Each toothpick requires careful placement, which strengthens fine motor skills in a natural and enjoyable way.
Perfect Uses for Pumpkin Hedgehog Crafts
These adorable creations are not just for fun. They can be used in multiple ways throughout the fall season, making them both decorative and functional.
- Halloween decorations without scary themes
- Classroom autumn craft projects
- Family bonding weekend activities
- Seasonal table centerpieces
- Kids’ craft competitions or school displays
At a Glance
- Easy no-carve pumpkin craft
- Safe for children of all ages
- Requires only basic household materials
- Highly customizable and creative
- Perfect for autumn and Halloween décor
Tips for a Better Craft Experience
To make the activity even more enjoyable, consider setting up a dedicated crafting space. Lay down newspaper or a protective table cover, and organize materials in small bowls so kids can easily access them.
Another idea is to turn it into a group activity. When multiple children work together, they can compare designs and share ideas, making the experience more social and interactive.
Pro Tip: Add storytelling to the activity by naming each hedgehog and creating little personalities for them. This adds an imaginative layer that children love.
Seasonal Styling Ideas
While the basic pumpkin hedgehog is already charming, you can elevate the design with seasonal decorations. Surround them with autumn leaves, place them on wooden slices, or combine them with small pinecones for a forest-inspired display.
You can also create themed setups, such as a “hedgehog family picnic” or “autumn forest scene,” which makes the craft perfect for photography or social media sharing.
Conclusion
Pumpkin hedgehog crafts offer a delightful blend of creativity, safety, and seasonal charm. They provide an excellent alternative to traditional carving while allowing kids to fully participate in autumn celebrations. With minimal materials and endless creative possibilities, this craft is perfect for families, teachers, and anyone looking to add a touch of warmth to their fall décor.
Whether used as a weekend project, a classroom activity, or a cozy home decoration, these adorable pumpkin hedgehogs are guaranteed to bring smiles and spark imagination throughout the season.
Tags
Pumpkin Craft Kids Activities Fall DIY Halloween Crafts Autumn Decor No Carve Pumpkin Creative Kids